PLA is one of the most widely used materials for 3D printing because of its good mechanical properties and ease of printing. Despite the fact that there is a very wide range of colors available for PLA, many times we have to paint the printed parts to give them different finishes according to the purpose of our project.
Today, in Bitfab, we show you how to paint the PLA printed parts.
How to prepare the part for painting
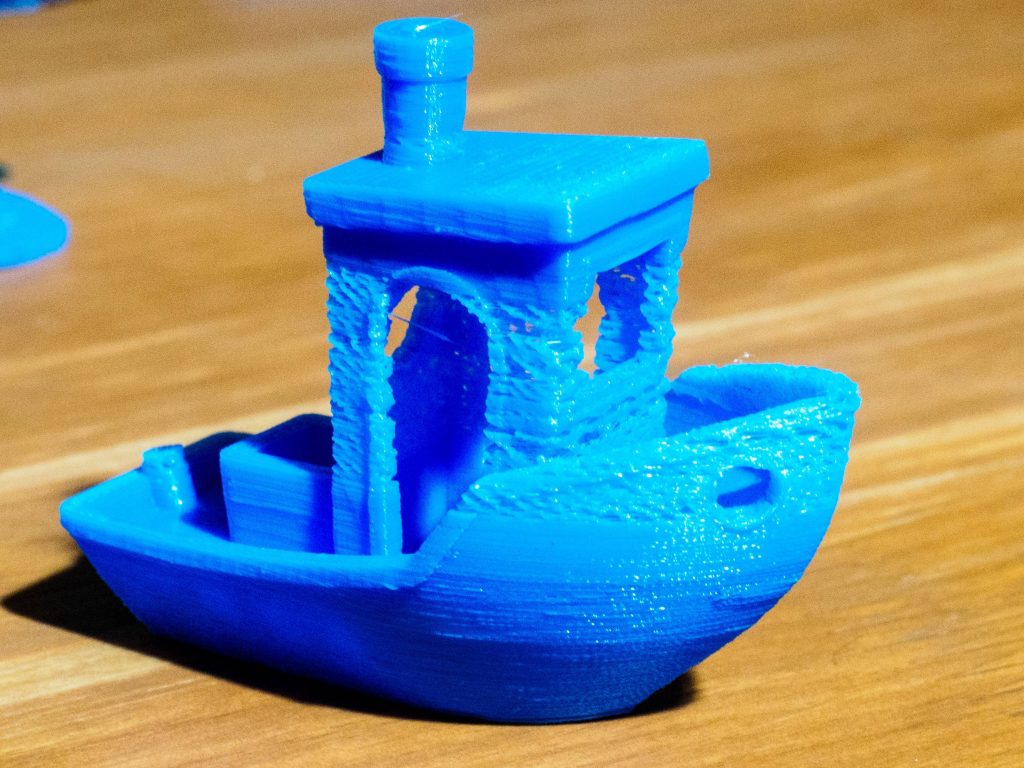
If you are going to paint a part printed on PLA it is because you want to give it a special finish. To achieve this, we must first start with a part that has a good print quality, which is essential to achieve a good finish after painting. We will never get a properly painted part from a badly printed part
In Bitfab we have several articles where we help you to diagnose problems in your prints and give you tips to improve the quality of finishes:
- How does the orientation affect the quality of the part?
- Guide to solve the most common problems in your prints
In these articles we show you how you can make the parts you print come out as good as possible, so as to minimize the post-processing needed before painting them.
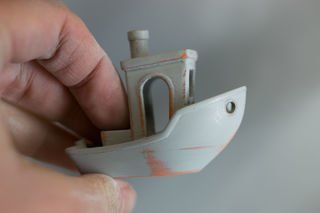
Once we have a good quality part, it is very likely that we will want to give it some kind of treatment to improve its finish even more and get as smooth a surface as possible, thus eliminating the layer lines. For this we have several possible solutions, the most common being:
- Traditional sanding to remove layers using abrasive materials
- Coating our part with a resin, making the layers invisible
- Chemical polishing with a solvent (not recommended)
We’ll tell you a little bit about each of these methods so that you know how to post-process your part in the most convenient way.
Traditional sanding
A very simple way to improve the surface quality of our parts is by sanding. We can use a multitude of tools, from typical sandpaper to precision tools such as a Dremel type multi-tool such as the Dremel 3000 we use.
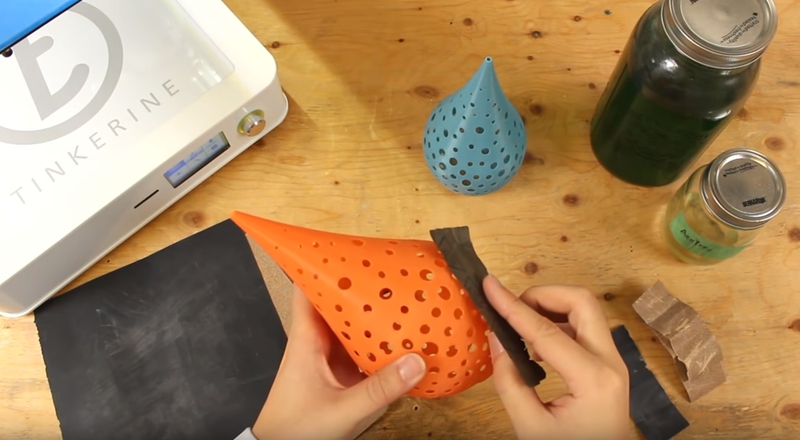
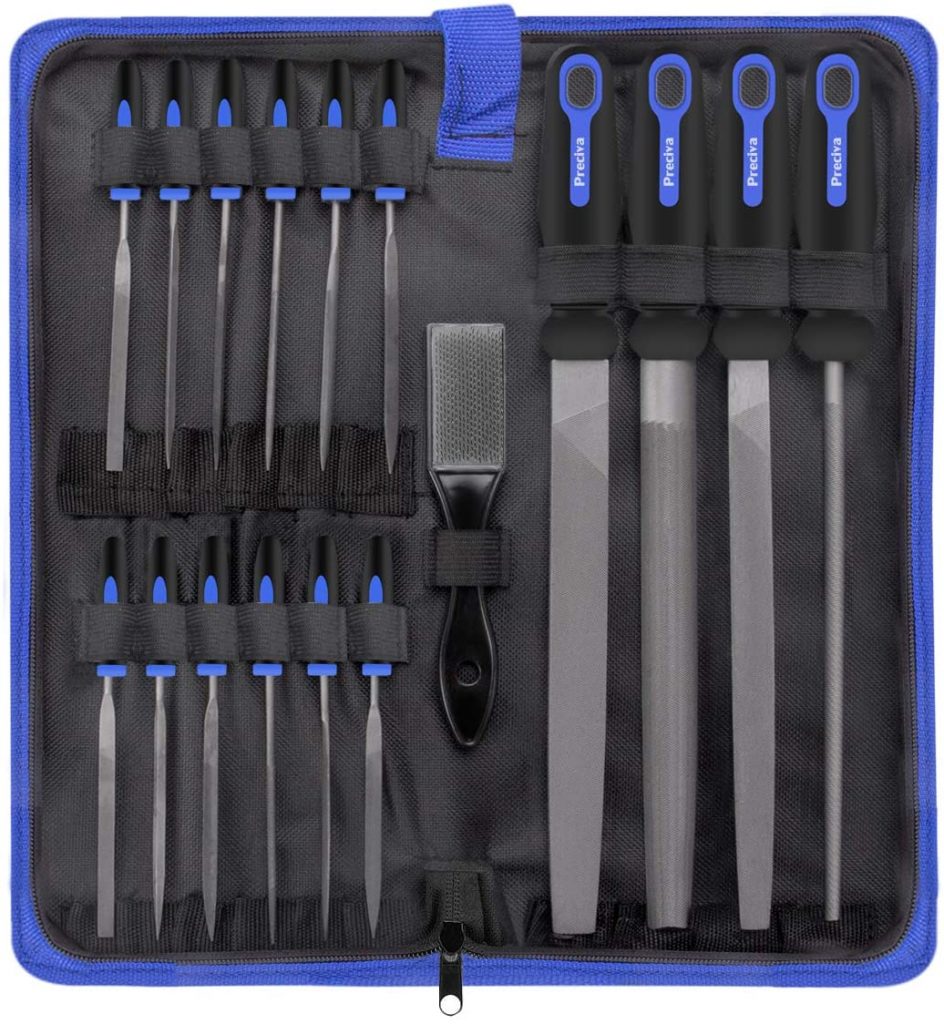
Some very interesting tools for these cases can be modeling files. There are many shapes and sizes, and they will help you sand the smallest parts and access the nooks and crannies of any model.
We recommend this Amazon set that is very complete and affordable.
Using resins to improve the finish
There are many resins specifically designed for improving the finish of 3D printed parts. One of the best known because of its quality is the XTC-3D brand.
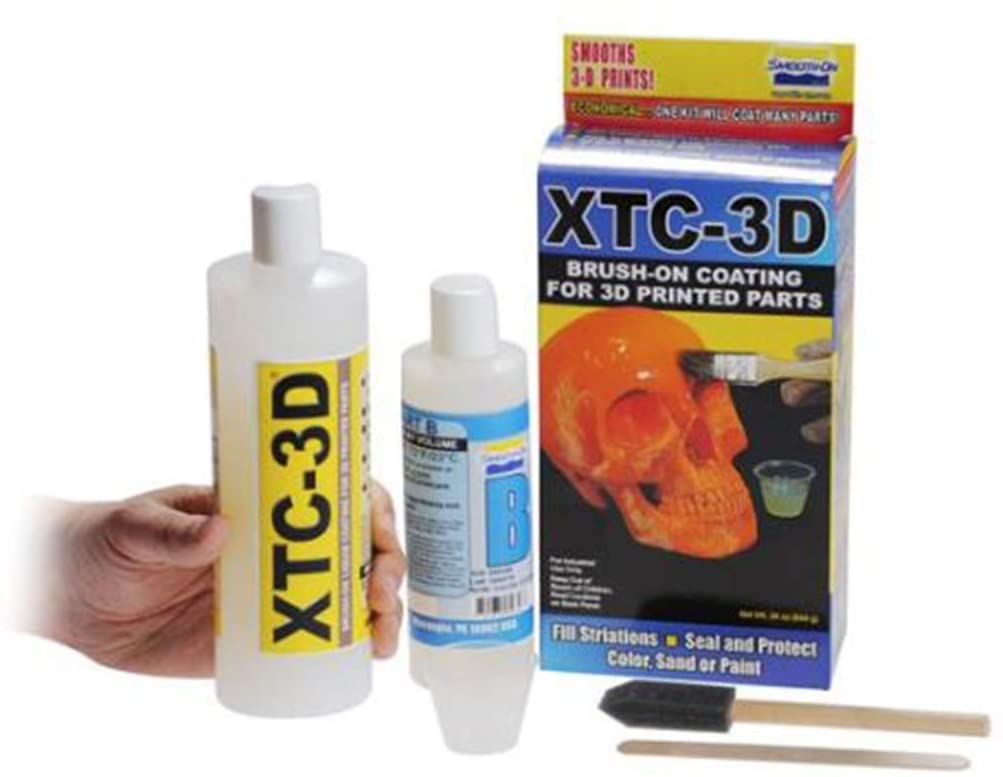
It is a two-component resin very similar to the typical epoxy resins that we can find in chemical stores. In this case, its composition is designed to have the appropriate density and viscosity for this purpose, being sufficiently viscous to be able to apply well, but not too viscous to be able to penetrate the gaps in our part.
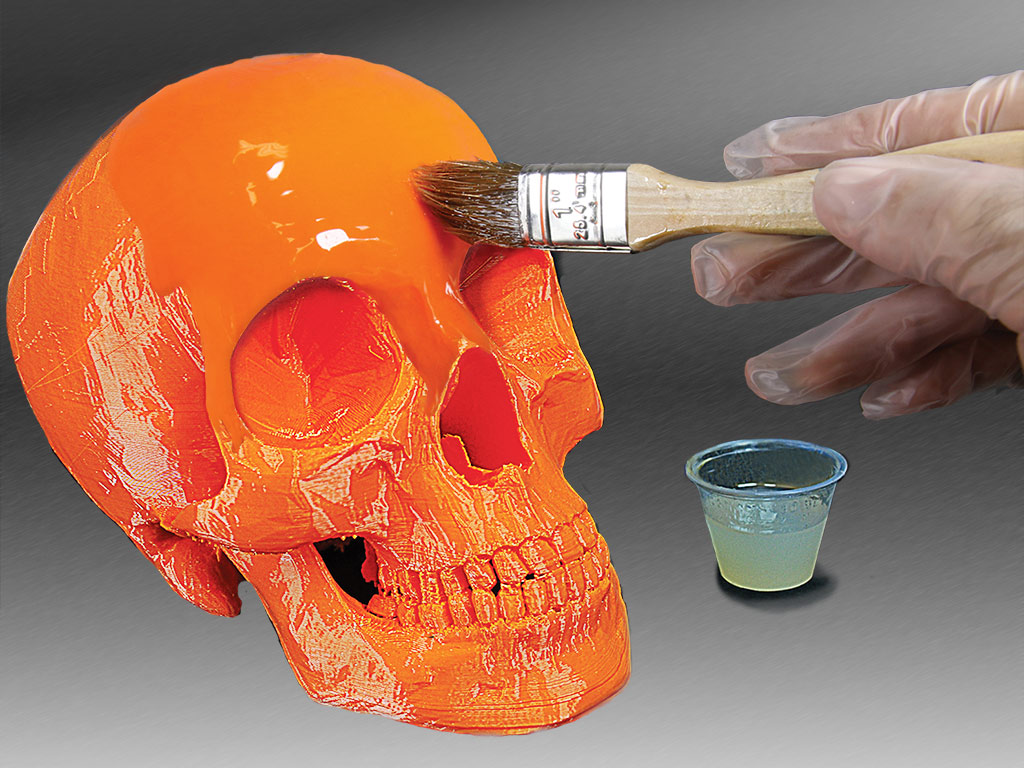
The results, as you can see, are quite good.
Use of solvents for PLA
An old trick that has always been used on ABS printed parts is to use acetone, either by liquid application with a brush or steam application, to smooth their surface. This type of “experiment” is in itself a risky task since it reminds you that you are using a liquid with very high solvent power (enough to dissolve the polymer itself).
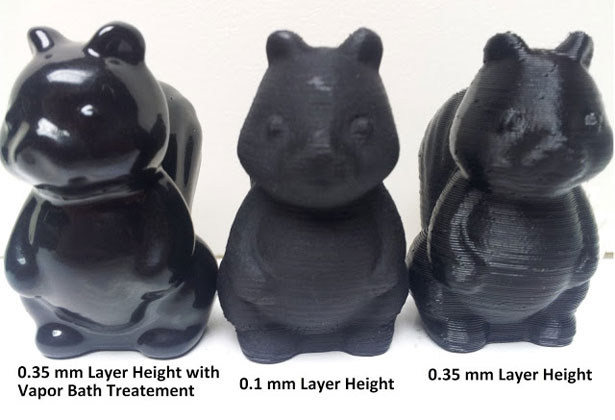
In the case of PLA, acetone does not work (or at least does not work for the vast majority of PLA) and we must use a different solvent. The most commonly used is dichloromethane or methylene chloride.
We have used it at Bitfab, and we cannot deny that you get extraordinary results with a correct application, but it is absolutely essential to take very strict security measures. We are professionals and we have the appropriate means. Acetone is a product that can be dangerous, but dichloromethane is, in many aspects, much more hazardous to health.
We only recommend this method if you have the appropriate facilities and the necessary safety equipment.
Which paint to use?
Now that we have a quality model and we have applied the treatment we believe convenient, the time has come to paint it.
PLA, depending on its formulation, can be a little “exquisite” with the paints you use on it. It is possible that certain types of paint do not adhere to PLA, so it is advisable to always use a good primer first to ensure good adhesion.
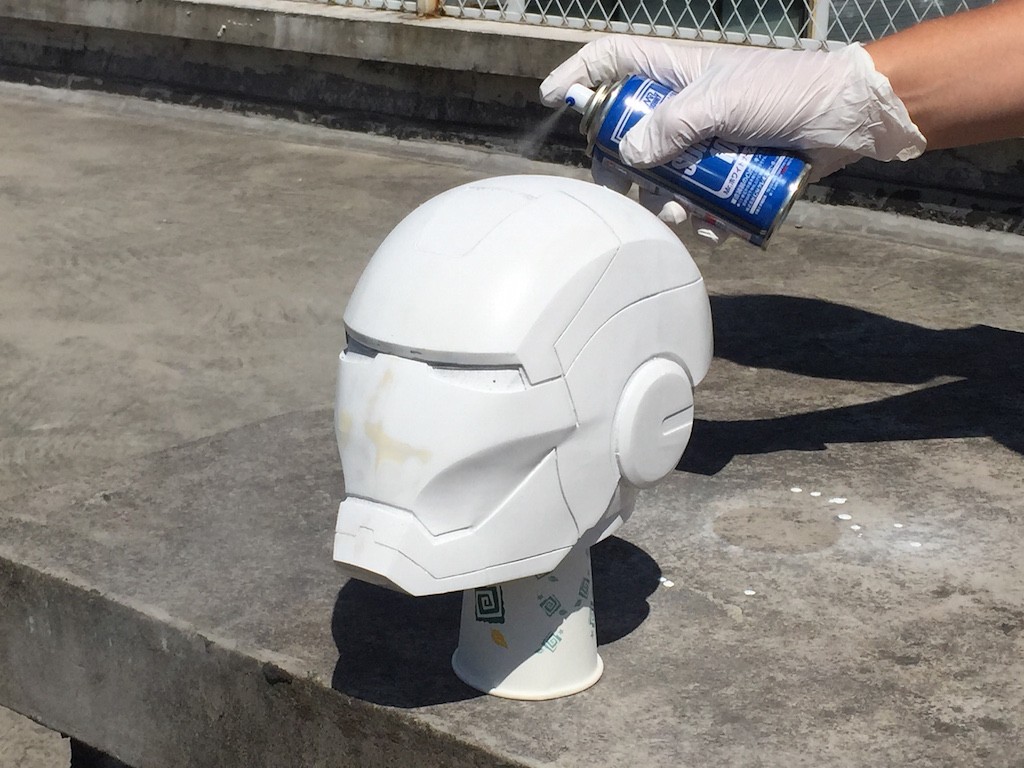
Primer is basically a paint specially designed to adhere to almost any surface, creating, once dry, a surface to which any other paint can adhere without any problem. There are many types of primer with different characteristics but for most situations a multi-purpose spray primer will do the trick and come out cheap.
The usual strategy is:
- Sand or resin down to an acceptable finish
- Prime and let dry
- Check the finish
- Repeat
In this way we will be adding coats of primer and improving the finish, although usually a couple of coats is enough if we are not looking for an extremely perfect finish.
The next thing is to choose the type of paint, although if you have applied a primer almost any type of paint will be valid. If we want to paint with a brush we can choose acrylic paint like the one used to paint miniatures, such as these of the famous Vallejo brand:
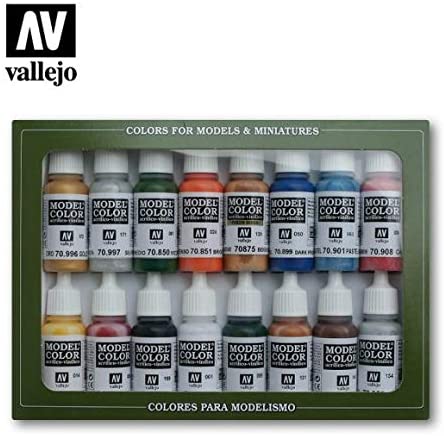
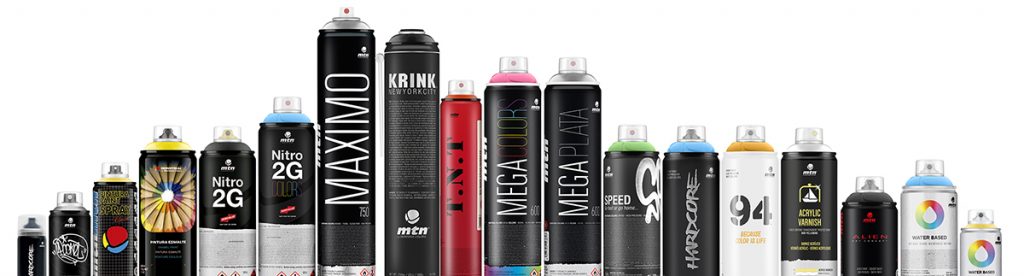
Another alternative is to use acrylic spray paint, which is more suitable if we simply want to paint our part in one color quickly and evenly. In this section there are lots of brands, models and colors.
Our favorites are Montana spray paints (maybe harder to get in the US or in the UK). Although it is a brand that comes from the world of graffiti, it has developed a very wide professional range with industrial paints, special paints, body fillers, primers…
Conclusions
In this article we have taught you the principles of how to prepare your model for painting, choosing between:
- Sanding
- Resin application
- Chemical smoothing
Then all you have to do is prime and paint and you’re ready to show your part to everyone and leave them with their mouths open.