Do you want to print waterproof, airtight parts? This was the question that German Martin asked me in the podcast La Tecnología para Todos (Technology for Everyone, in Spanish), in the section about 3D printing that we have in Bitfab.
As I spent some time thinking and writing my answer, I realized that the tips we gave him could be useful for many other people, so I’m going to compile them here in a little article.
6 tips! I didn’t know that so many things could be done to improve the waterproofing of your parts!
📖 What do you want to read?
What tips would you give for printing 3D waterproof parts?
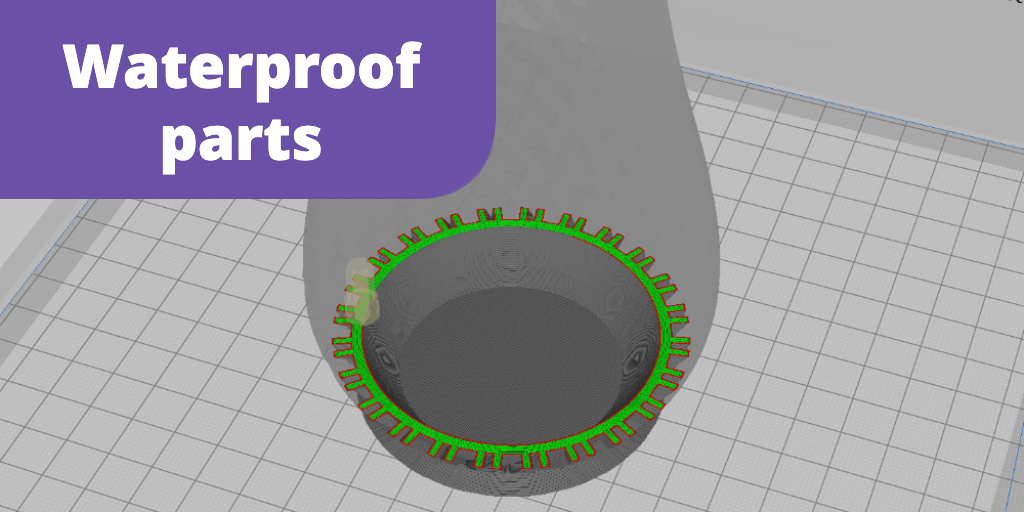
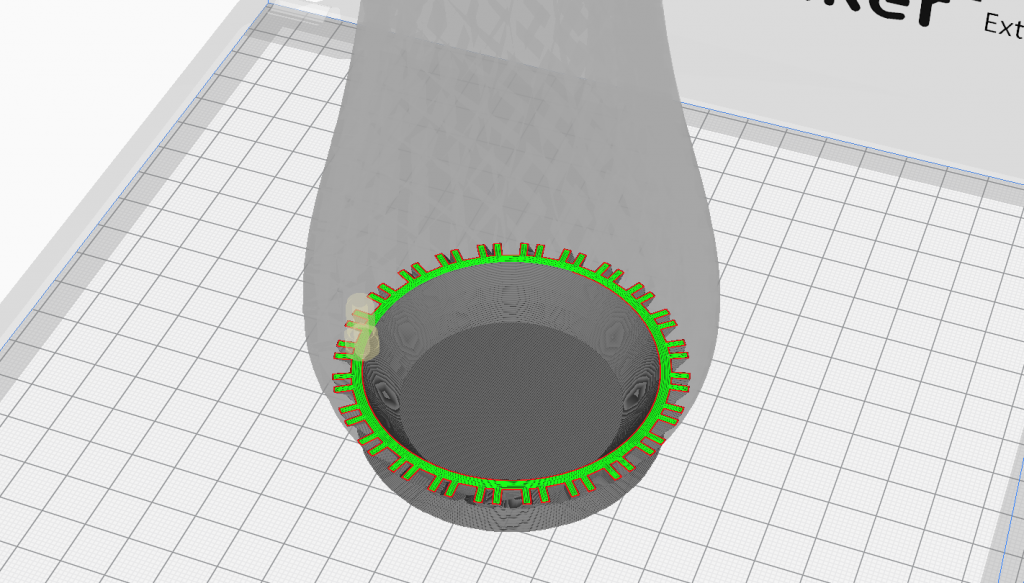
We all know that 3D printing produces parts layer by layer, normally hollow, and through those holes water or any liquid you want to contain in your part can escape.
Sometimes it makes sense that our parts don’t let water through, not only to be able to use them to contain liquids, but also to produce casings that are resistant to rain, weather… or even completely watertight containers that don’t let gases or moisture through to the outside or inside.
More filling, more perimeters
What better way to keep water out than to put more material into the part? To make parts more waterproof we recommend that you increase the number of perimeters of the part (3, 4, 5… shells or more) and also increase the filling (30, 50 or even 100% infill in your part).
This is the most basic advice but it is the best way to start.
Controlled over-extrusion: Extrusion multiplier
This parameter is one of the best known of any laminator. Many users apply it to compensate for defects in their printer, extruder, laminate configuration… I personally never touch it, I prefer to have a well calibrated printer than to fool myself by touching the extrusion multiplier.
But in this case its use is more than justified: raise the extrusion multiplier to 105%, 110% so that the printer deposits more material and closes the cracks between layers well. The resulting part will be much more watertight.
Hot printing to improve adhesion between layers
Print the hottest possible layers so that they stick together well, and fluids cannot pass through the gaps in your part:
- Raise the extrusion temperature a bit
- Try turning off the coating fan to further improve adhesion between coats, as long as you don’t deform the parts
Better with wide nozzles
Wide nozzles have many advantages when printing waterproof parts:
- The higher and wider the layer, the fewer interfaces between the layers for liquids (or gases) to flow through.
- Wide nozzles tend to print parts faster, leaving thicker beads of material, so the previous layer is always hotter when the new layer is deposited on it. As we’ve already told you, hot layers mean better adhesion, so your part will be more impervious to any fluid.
That’s why if you want to print a part to keep liquids at bay, it’s always better to use a 0.6 or 0.8mm nozzle.
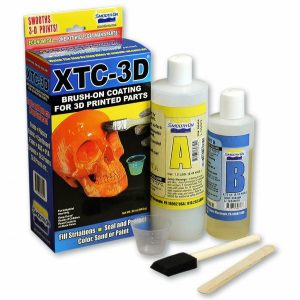
Coating the parts with epoxy
Another possible option is to cover the parts with a layer of epoxy resin, which is a two-component viscous liquid that is mixed and applied with a brush to the part, to create a new uniform layer when it solidifies.
We use epoxy resin for both smoothing and gluing printed parts; our preferred product is Smooth On’s XTC-30.
Smooth parts with a solvent
Whether it is acetone for ABS or chloroform (even acetone can also work) for PLA, using a solvent on the part smoothes it out and fuses the layers together, thus greatly improving the watertightness of the parts.
These solvents are usually used in 3D printing, but be careful when handling and applying them because they are irritating and should only be used in ventilated spaces and by someone who knows what they are doing.
Did you like our advice?
If you did, feel free to leave us a comment and ask us more questions, we are always happy to answer!