Today, rapid prototyping is booming in the industry for very good reasons: it saves thousands of euros in design flaws or final parts tests and it is not as expensive as companies think.
Rapid prototyping methods are available for all qualities, needs and budgets, and the vast majority have available a wide variety of materials ranging from plastics, photopolymers to high strength metals. You will be able to make from a first prototype to the first short production series.
Here at Bitfab we are going to take you on a journey through our favorite rapid prototyping methods so that at the end of the article you have a clear idea of which one to use. And if you have any doubts at the end, do not hesitate to contact our technical service so they can advise you, maybe we can even help you with our services.
What is rapid prototyping, when is it used and what applications does it have?
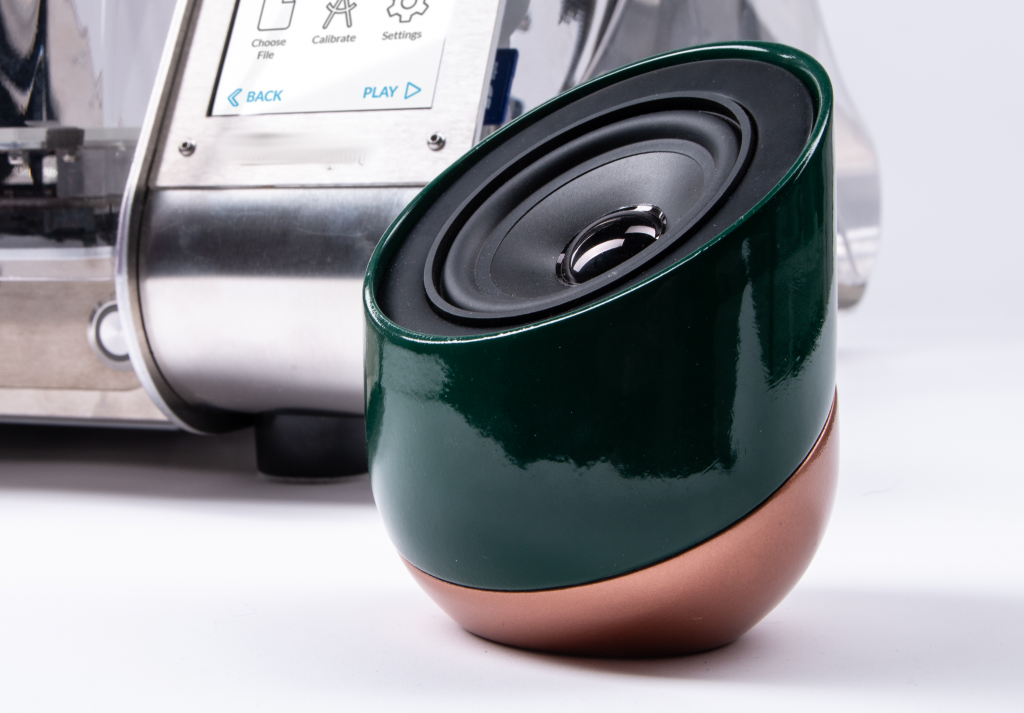
Rapid prototyping is a process by which we create objects with similar characteristics to others (shape, mechanical strength, color) in order to test our product before releasing it to the market easily and cheaply. Its use is generally industrial and prior to making several series of products. Creating a prototype, for example, of a metal piece to fit a tool usually costs a few hundred euros and hours in the workshop. With rapid prototyping we can have our prototype ready the same day and for less than half the price.
We can use a fast prototype in the first development stages of a project. For example, creating a prototype of a metal piece to fit a tool usually costs a few hundred euros and hours in the workshop. With rapid prototyping (3D printing, laser, CNC…) we can have our prototype ready the same day and for less than half the price.
Its applications are diverse, from prosthetics in medicine or the dental sector, car parts in large print runs, production of objects for marketing or even for the manufacture and testing of parts in the aerospace sector.
Best of all, today there are flexible manufacturing technologies that combine rapid prototyping and short series. That is to say, using some of the techniques that we are going to talk about in this article, you will be able to produce from the first prototype to the first test runs, production and marketing of your product. By choosing the right manufacturing technology and with an adapted product design, you can skip the costly step from prototyping to production.
Rapid prototyping with 3D printing
3D printing, also known as Additive Manufacturing, is the most commonly used technique for rapid prototyping. Here are 4 different 3D printing technologies for you to choose the most appropriate to manufacture your prototype.
Stereolithography (SLA) and Digital Light Processing (DLP), 3D resin printing
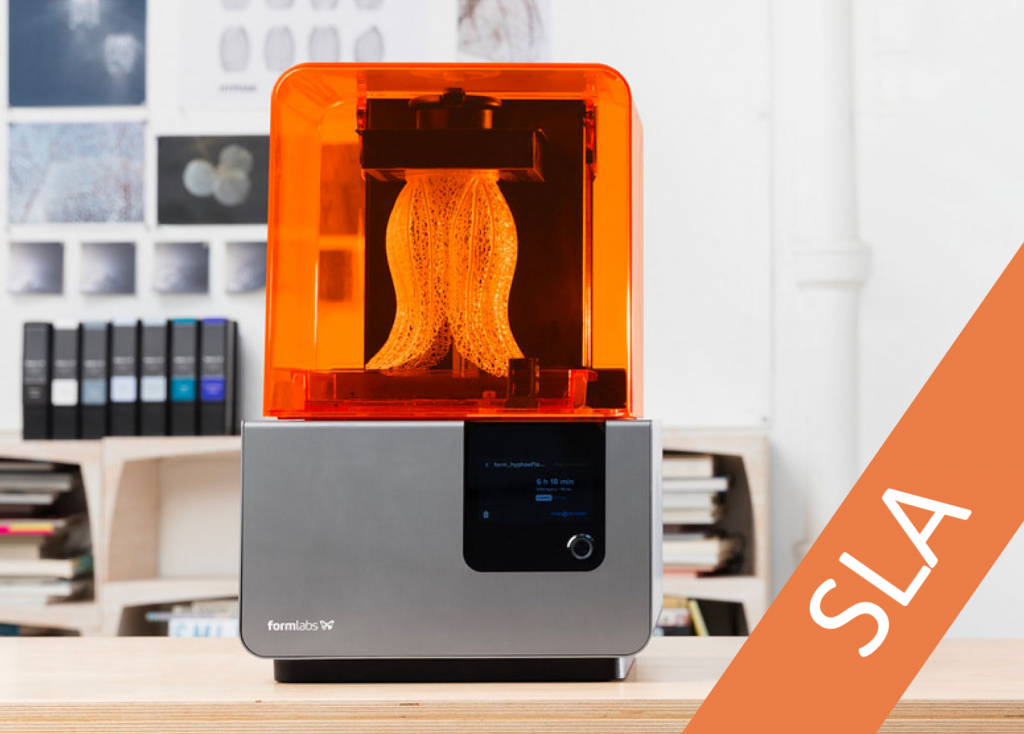
Stereolithography, or SLA, is a rapid prototyping technique in 3D printing for the manufacture of parts using photosensitive resin that is cured by a beam of ultraviolet light. If instead of a laser an ultraviolet lamp is used to cure the resin, this technology is called Digital Light Processing (DLP). Both technologies are based on the same principles and produce very similar parts.
The base is introduced in a special resin tank and, as it goes up, the light beam gradually solidifies the resin in small layers, creating the piece little by little, which will have a resolution equal to the height of the layer we have. Afterwards (and after removing the excess resin) it is left curing in an ultraviolet light oven.
It is practically twice as expensive as FDM manufacturing (which we will see later) but also has twice the quality (about 100 microns per layer or less).
Currently there are commonly used 3D printers of this type and despite being a somewhat ‘cumbersome’ method is very cheap and the finishing is excellent. It also allows the use of special temperature resistant or biocompatible materials.
Selective Laser Sintering (SLS), without supports
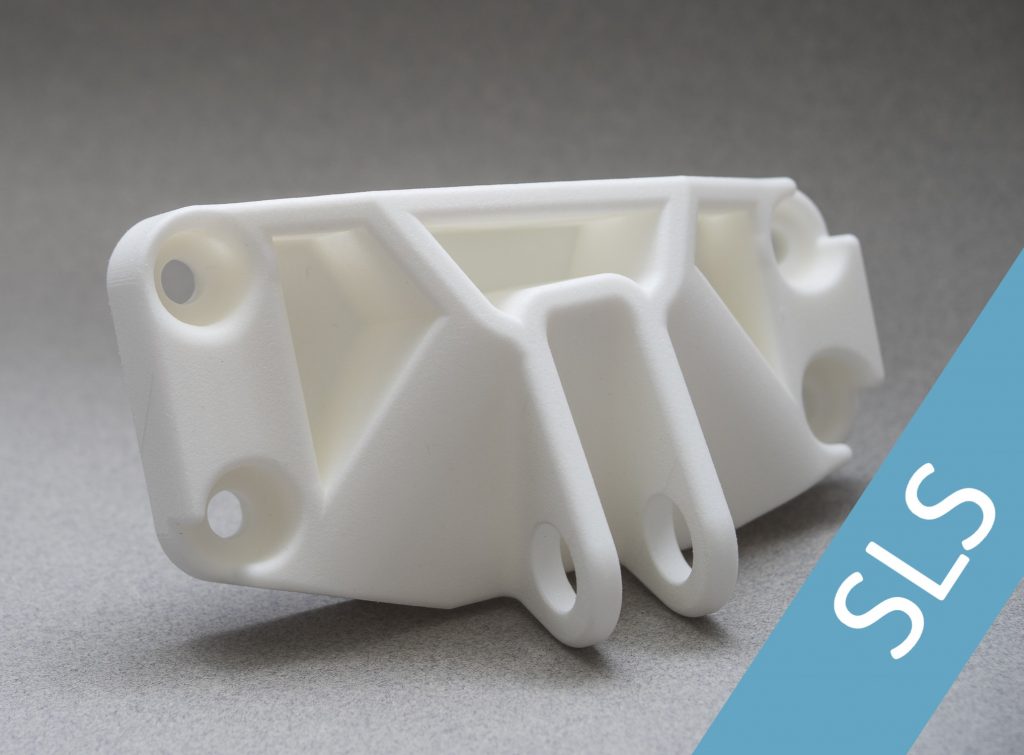
SLS is another rapid prototyping technique that also creates the part in layers (3D printing), but this time through the fusion of powders, which will melt, creating a very strong agglomerate. The final material will depend on the type of powders used: metals, plastics, ceramics or even glass.
To melt these powders you need a very powerful laser beam. This beam, through a three-dimensional computer generated file, runs layer by layer the bed of powders, agglomerating them and gradually creating the object. When a layer is melted, the bed generates a new layer to melt.
The most popular feature of this type of manufacturing is that there is no need for supports on the parts, as the powder bed itself supports the part. Once the sintering is finished, the part will be taken out of the bucket, removing all the remaining dust covering it and leaving a perfectly finished part.
Its manufacturing tolerance is also between 75 and 100 microns, similar to SLA manufacturing, but without the inconvenience of the supports. The finishing of the parts however is rough and porous rather than completely smooth.
Within the SLS the most widespread technique is the manufacture with polyamide powder (nylon). This is a technology that adapts very well to the manufacture of short series and functional parts because it is one of the most economical within 3D printing and because it produces very resistant parts.
Fused Deposition Modeling (FDM), 3D Printing Rapid Prototyping
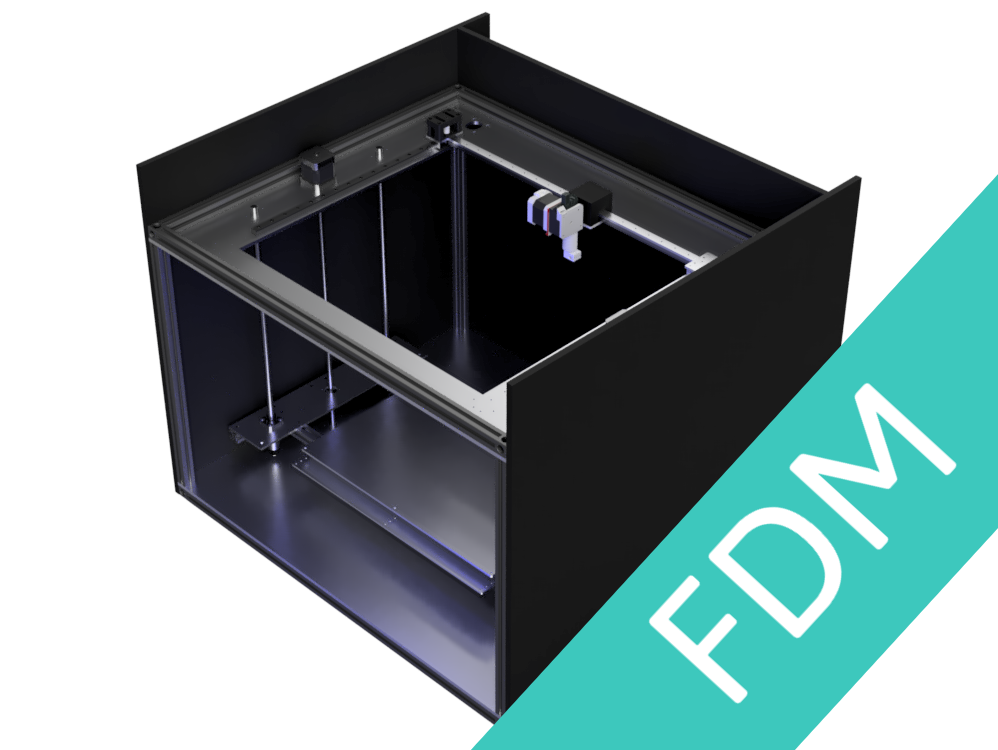
This prototyping technique by 3D printing is one of the most commonly used techniques because 99% of user 3D printers have this manufacturing mechanism. The thermoplastic material is wound on a coil in the form of a fine filament of 1.75mm (can also be 3mm).
This filament is melted in a part of the printer called ‘hotend’ and extruded through a nozzle that can range from 0.3mm to 1mm. This head, while moving in the three axes of space, deposits the filament on a base and gradually creates the piece. The minimum layer thickness in this type of printer is 0.1mm although 0.2mm is generally used.
The materials commonly used in FDM are: PLA (Polylactic Acid), ABS (Acrylonitrile Butadiene Styrene), PETG (A glycolated variant of PET), ASA, Nylon or TPU/TPE (flexible filament). Coupled with a double extruder, this type of 3D printer can print soluble supports so that they can be easily removed without endangering the quality of the part. In fact, Bitfab has even used FDM it to make biomodels of human organs to help plan surgeries.
FDM is the most economical rapid prototyping technology, suitable from the first prototypes to production runs of functional components. Its greatest limitations are the finish and strength of the resulting parts. If you design your products for 3D printing (we have a great guide for that) and overcome these obstacles, it can be a very powerful manufacturing technology.
Triple injection or Polyjet, the multicolor revolution
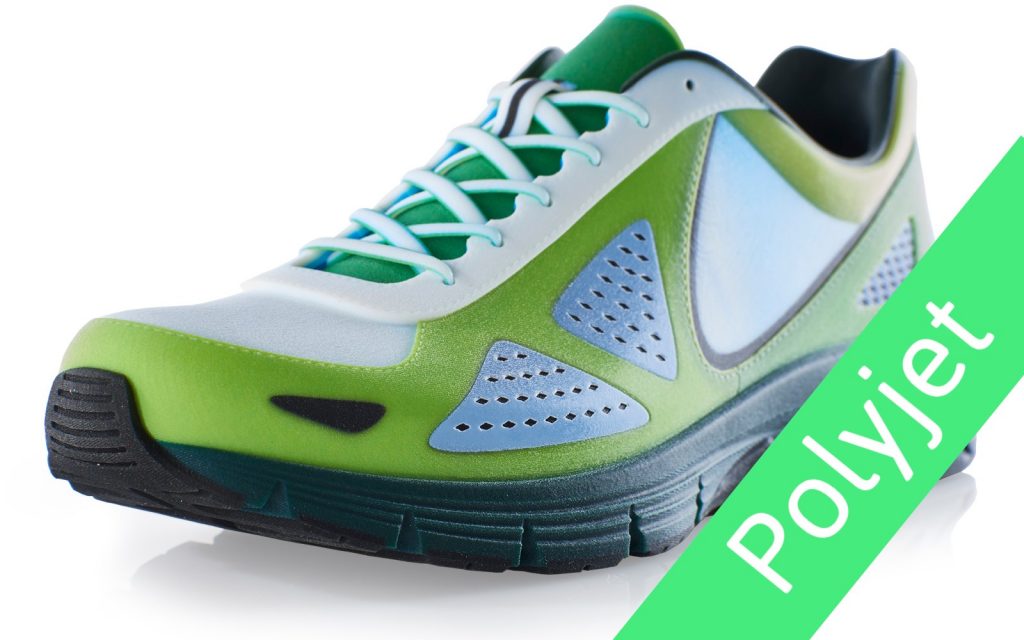
Polyjet or Triple Injection is a process that allows the creation of objects combining different materials and colors through the combination of Inkjet technology and the use of photo-polymers: two materials solidify upon contact with ultraviolet light and the most surprising thing is that there is no need to create layers like the previous manufacturing models.
Each print head has tens of nozzles that project micro-droplets of material onto a manufacturing platform. During each layer projection, an ultraviolet light is emitted, which solidifies the matter that will create the final product.
Best of all, the final part does not require any post-processing stage (baking, sanding or polishing). For the creation of complex geometries, a support material (a gel easy to remove manually or with water) is adjusted in one of the print heads. Parts printed with Polyjet, however, are not functional, but are intended to be aesthetic prototypes.
Rapid prototyping with laser cutting
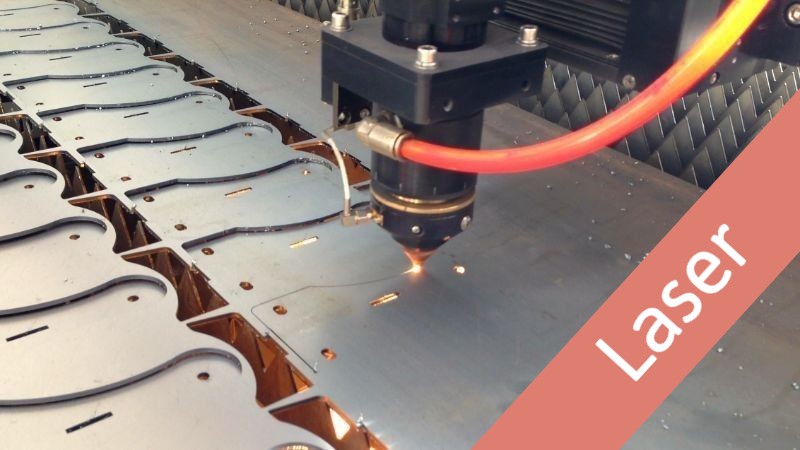
Laser cutting is one of the most flexible technologies for prototyping and it is often overlooked. If a part can be laser cut from planks of wood, plastic, or metal, laser cutting is likely to be the most economical manufacturing method.
The laser has in its favor the great variety of materials that can be processed: wood, fabric, opaque plastics, translucent, bi-layer and metals (aluminum, steel, etc.). In the case of metals, the parts can later be folded to obtain much more complex geometries. The combination of laser cutting and bending is one of the most flexible and economical to develop our products, and is suitable from prototype to mass production.
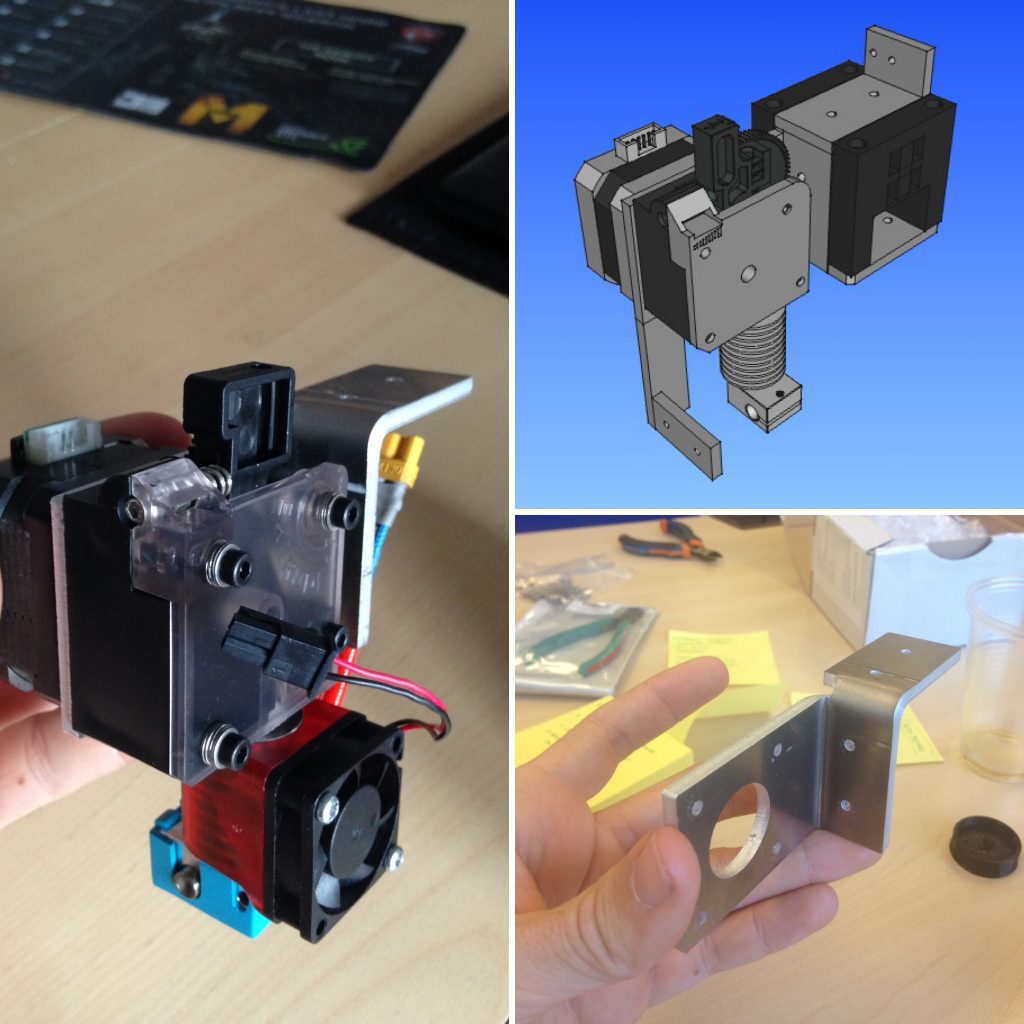
One of the advantages of the laser as a rapid prototyping method is that the same design can be used for production parts. By using laser cutting, several hundred or thousands of parts can be manufactured and therefore it will not be necessary to modify our product or look for new suppliers to start selling it.
Rapid prototyping with CNC

CNC or machining is one of the rapid prototyping technologies that have been around for years. It is a traditional technology that consists of removing material from an initial block of the material of the part (usually metal) to obtain the desired shape.
You can machine parts within weeks and that’s why we have included it in this list, but it is not a flexible technology nor capable of dealing with the urgent deadlines that are usually obtained with 3D printing or laser cutting.
The CNC is sometimes the only option when you want metal parts (3D printing in metal usually has very high costs for most parts), but has the disadvantage that it is usually more expensive than 3D printing unless it is for long production runs.
How much does rapid prototyping cost?
The cost of the prototype depends on the technology that we are using and the size and complexity of this, since it is not the same situation as an FDM prototyping machine that occupies at most 1m high vs. an SLS machine that can fill a whole room.
To give you some context, a piece the size of a cup in FDM can cost around €15-20, while, if we do it in SLS, it could easily go up to €100. On the other hand, if instead of a cup we made a model of a heart (more complex and with nooks and crannies), the price could be doubled or tripled in both technologies
Then you have to take into account the material. A bed of metal powder costs more than a bed of plastic powder, just as a PLA filament coil costs four times less than a carbon fiber one.
If you are curious about how much it costs to 3D-print your prototype in Bitfab, we can help you. You can ask for a quote by clicking on the contact button.
Types of rapid prototyping in the industry
Rapid design prototyping
This type of rapid prototyping is used to see how the product will look aesthetically: curves, straight lines, holes that could go wrong; not only in a visual sense, but also ergonomic.
The latter means that the producer will test with users (either volunteers or contracted) to see how they use their product and if it is comfortable for them to do so. This is applicable, for example, from a computer mouse with which the user interacts, to products with a large design investment that the company wants to see in reality before making the manufacturing decision.
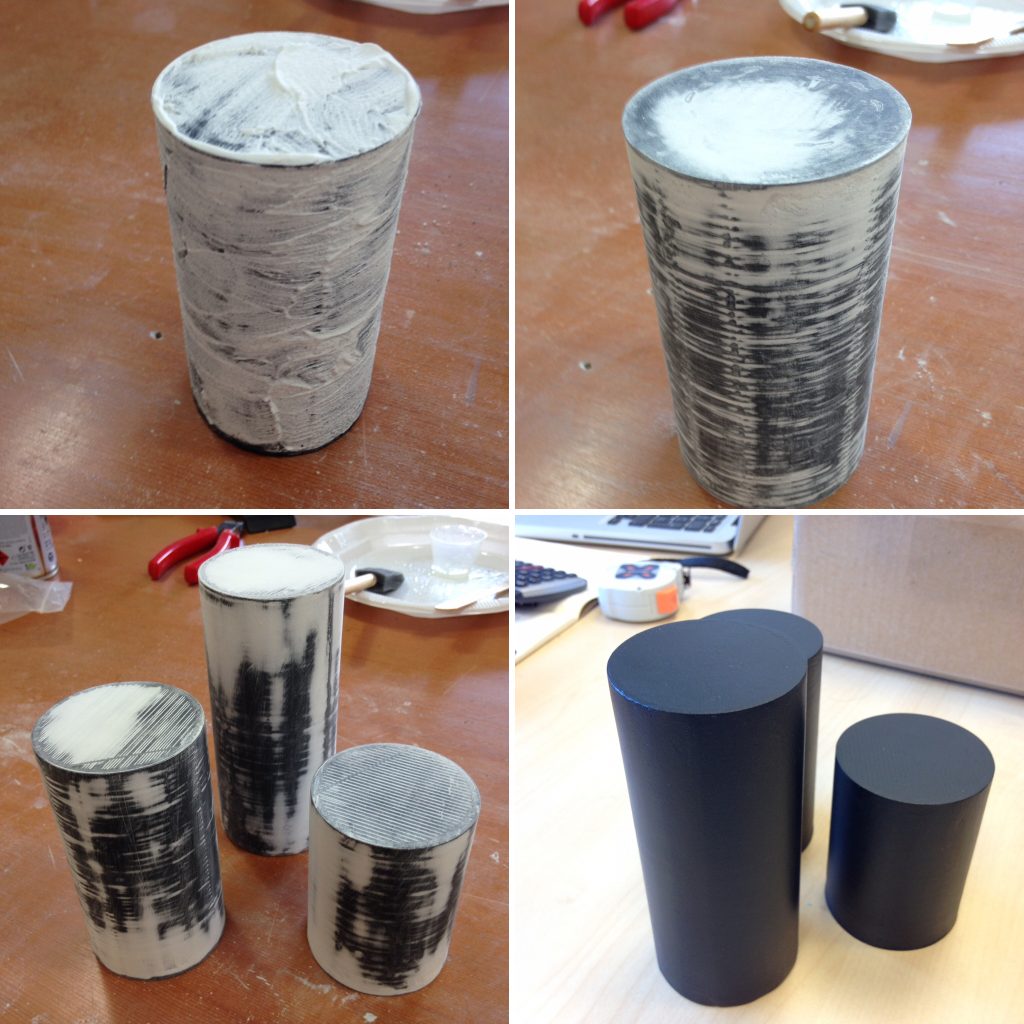
In the most demanding design prototypes, post-processing of the part is of great importance to achieve finishes and textures that reproduce the real object in the best possible way.
Rapid geometry prototyping
This type of prototyping refers to a spatial and purely geometric use. This means that the manufacturers will use it when they want to see couplings of some objects within others, if there is geometric agreement, or just the form.
It is very useful in the adjustment of manufacturing tolerances, since two connected products have to ‘match’ to be able to fit into each other. This point is vital to have it under control since otherwise a percentage of the lot could simply result useless, with the losses that this represents.
Functional rapid prototyping
Functional prototyping makes reference only and exclusively to the use that is going to be given to the future object, which can be manufactured in small batches or in large productions. It has a lot to do with design prototyping since one of its most important factors is ergonomics.
It is also often used in the creation of mechanisms, to see if they really meet the expectations of movement or fitting before developing the final product or tooling, which is usually much more expensive.
Technical rapid prototyping
Finally there is the technical type prototyping that is used to see all the functions that our final production part will have. With it, the final product tests will be done and the part will be adjusted as many times as necessary; this stage of the design being always the last one.
They consist of several parts and the quality of prototyping is usually better, because it is the one that has to be adjusted to the aesthetic and mechanical properties of the final product. This last point is very important, and if it could not be carried out directly (due to the difference in material between prototype and final product), its properties would be extrapolated through mathematical formulas.
Advantages and Disadvantages of Rapid Prototyping, when to use it
It allows you to test your designs quickly
This is the main advantage of rapid prototyping: waiting time. While when we mechanize we have to wait for the workshop to do it (wait for days) in addition to the extra cost generated, a part made in rapid prototyping can be at your table that same day.
Ideal for business on demand and large objects
Currently there are companies dedicated only to large scale models or small product runs since the prototype is usually so stable and well made that it can serve itself as a final product or manufacturing method in low runs.
Perfect for creating complex objects
Machining or injection molding usually has many handicaps such as the creation of internal roundings or gaps. With conventional 3D prototyping this is over: you can make whatever you want with the form you want, leaving aside the CAM and focusing on the CAD.
It doesn’t always work for large productions
Rapid prototyping has a disadvantage: in the long term and with large production it does not amortize. If you are going to manufacture many pieces of plastic it is better that you resort to plastic injection than to 3D printing, however the initial testing should be with the former.
Sometimes you have to extrapolate the mechanical properties
Sometimes we have parts that cannot be manufactured directly with rapid prototyping, especially because that material is incompatible with it. To do this we will have to resort to mathematical formulas to extrapolate mechanical properties of our prototype to the final part.
What do you think of our rapid prototyping article?
First of all, we wanted to congratulate you for getting here –few do– and ask you to leave in the comment box what you thought of the article. In Bitfab we take into account the opinion of our readers and we would love to hear yours.
Prototyping in 3D is something that companies should consider before making a new product run, and being advised by a good team of people can save us a lot of money and many headaches.
Now you only have to decide on one, pass your 3D file to us (or ask us for a quote) and start creating the new prototypes of your products.
Once again, thank you for reaching this far. We’ll see you on the next post.

