🧠 Do you know what programs are used in a real medical 3D printing project?
Based on our experience collaborating in the 3D Printing Laboratory of the Gregorio Marañón Hospital, the most powerful medical 3D printing project in Spain, we give you the keys to the programs that are used in a real project of this kind.
📖 What do you want to read?
From medical imaging to 3D model: segmentation
Most medical 3D printing processes start with a system for imaging the human body, such as CT or CAT scans.
When a CT scan is performed on a patient, a set of sections of the body are obtained at different heights, as if they were slices. Usually these images are in a format called DICOM, a standard protocol for communication between information systems and at the same time a format for storing medical images.
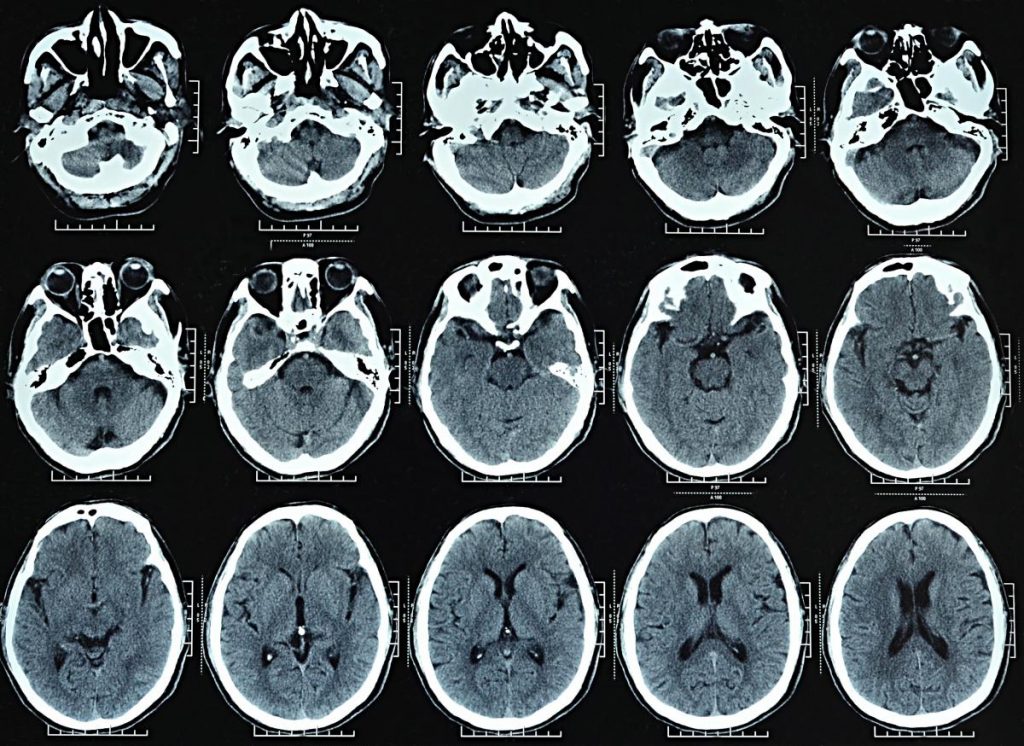
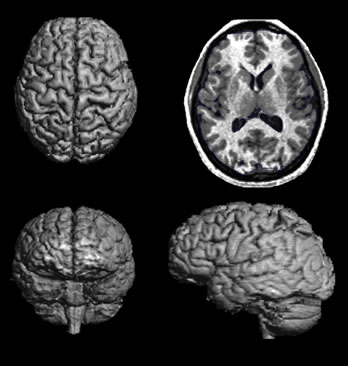
As you can imagine, this is very similar to a 3D scan, and in fact, tomography is used for 3D scanning in other sectors as well, as we have already explained in this article. Once we have all the pictures of the patient it is time to perform the process called segmentation. This segmentation will consist of selecting which parts of each image we want to be turned into a 3D model.
In the case of the CT scan of the skull that we showed you in the image above, the segmentation process would consist of selecting only the parts of the image that correspond to the brain, excluding the skull and the fluid in between. There are many ways to perform this segmentation: manually, through automatic detection using color gradients, using more advanced image segmentation techniques or even through artificial intelligence.
There are many programs that can perform this process of converting all the images to a 3D model by choosing only those parts that interest us, but we are choosing 3 : 3DSlicer, IntelliSpace Portal 10 by Philips and Materialise Mimics.
3DSlicer
3DSlicer is a free and open source segmentation software that defines itself as: “a free software platform for medical imaging, image processing and three-dimensional image visualization”.

This software is quite powerful for being free, and being open source any user can contribute to the project to improve it. One of the most powerful tools that this software presents is the segmentation by contrast or threshold. With this tool we can automatically segment all the images depending on whether any of its parameters is above or below a certain threshold. This threshold can be done on the brightness of the image or on the transparency to radiation, an additional channel found in the DICOM format.
A practical example of what can be achieved with 3D slicer can be seen in our article on medical 3D printing.
IntelliSpace Portal 10 by Philips
Intellispace Portal 10 is a patented Philips software, which is neither free nor open source but offers a wide range of advanced features. It defines itself as: “an aid to solving image capture difficulties and providing definitive diagnoses”.
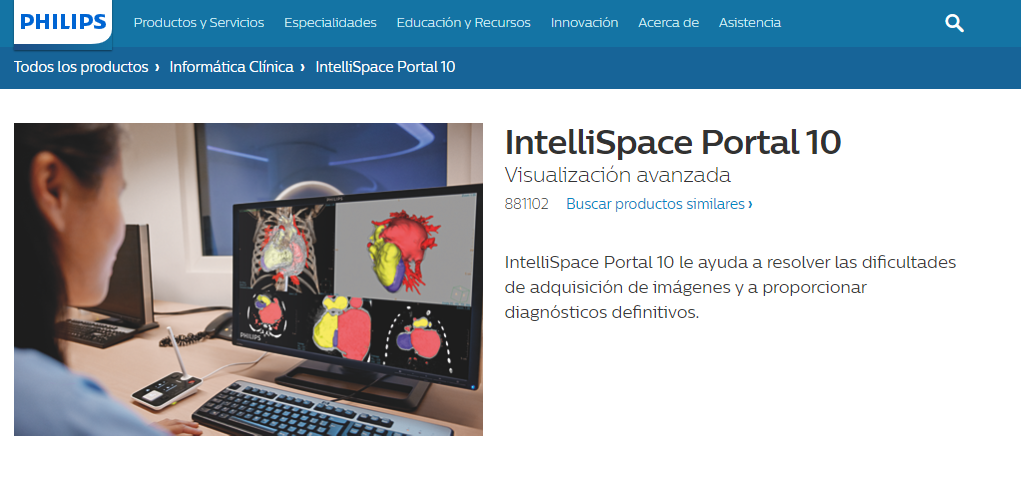
This software is a complete kit that promises to be capable of carrying out the full cycle of processes required to move from DICOM files to a printable 3D model. Its main features are:
- Improve the treatments and care offered to patients: Through more reliable diagnostics and tools for fast and secure decision making, IntelliSpace portal 10 improves the care received by patients.
- Simplify data acquisition: Acquiring and collecting data from different sources is often one of the slowest and most expensive parts of the process, so this software promises compatibility with many other clinical data acquisition and processing systems to streamline the process.
- Cost reduction: Through the use of artificial intelligence and machine learning algorithms, in combination with optimized workflows, the required human interaction and supervision are reduced, thus reducing costs.
- Support for the future: The Philips platform promises to be always up-to-date to offer the most modern and efficient solutions, incorporating the latest methods of clinical image processing as new tools.
This software integrates different specialized modules for very diverse tasks in the clinical world:
- Neurology
- Cardiology
- Liver
- Oncology
- Vascular
- Optimized modeling for 3D printing
Overall, it is a fairly complete software that offers simplicity of use and quality support, but it is an expensive program that can cost thousands of euros depending on which version we choose.
Materialise Mimics
Mimics is a software from the company Materialise. In case you don’t know it, Materialise is one of the largest 3D printing companies in the world, so they really are experts in the field and actually have a lot of value to contribute.
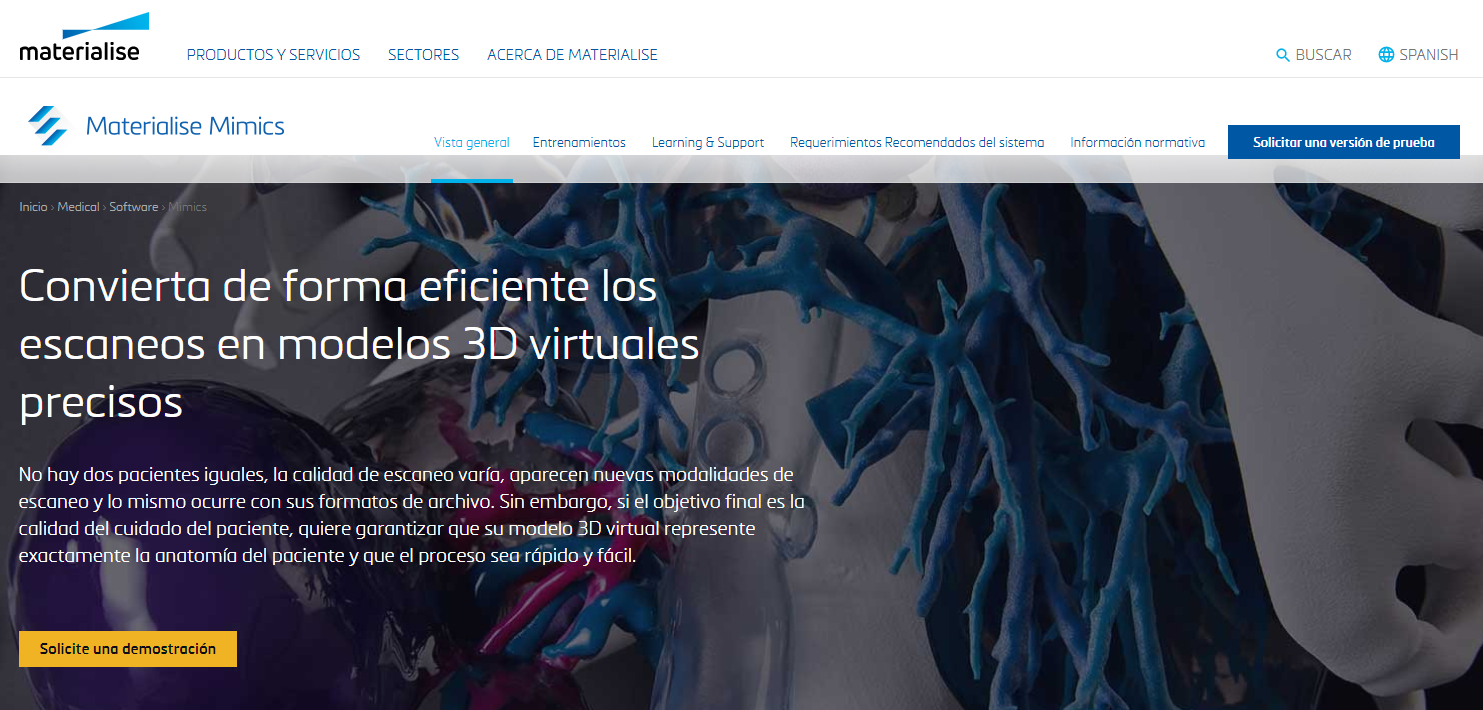
This program aims to be a simple but very powerful solution to obtain perfectly printable 3D models from clinical images. Like the Philips solution, it is not free or open source, but it is one of the most sophisticated and high quality solutions. This quality can be seen in several aspects, from the simplicity and ease of access of the interface to the modularity of the software, which allows new functionalities to be added easily.
Materialise is also a very expensive software, but the simplicity it offers allows to reduce a lot of time and labor costs, making it very popular in the professional sector.
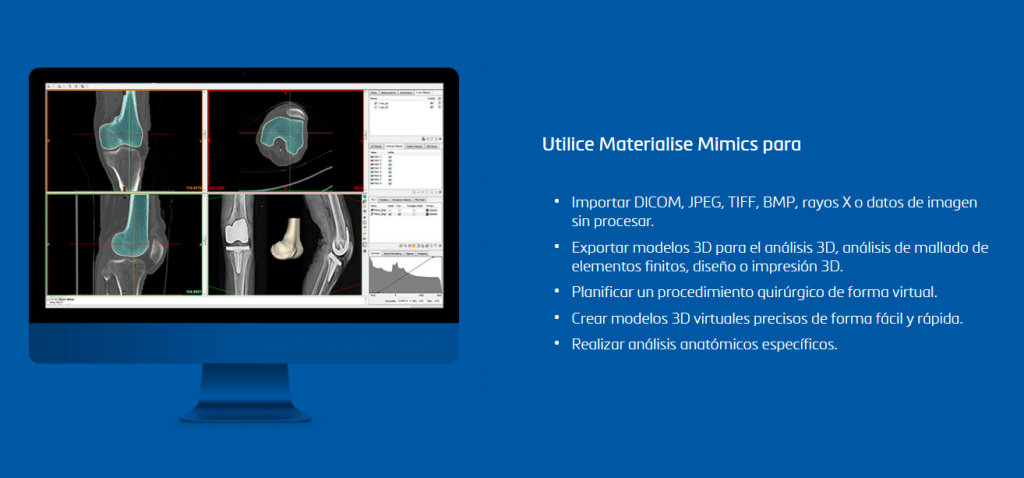
Some of its features are:
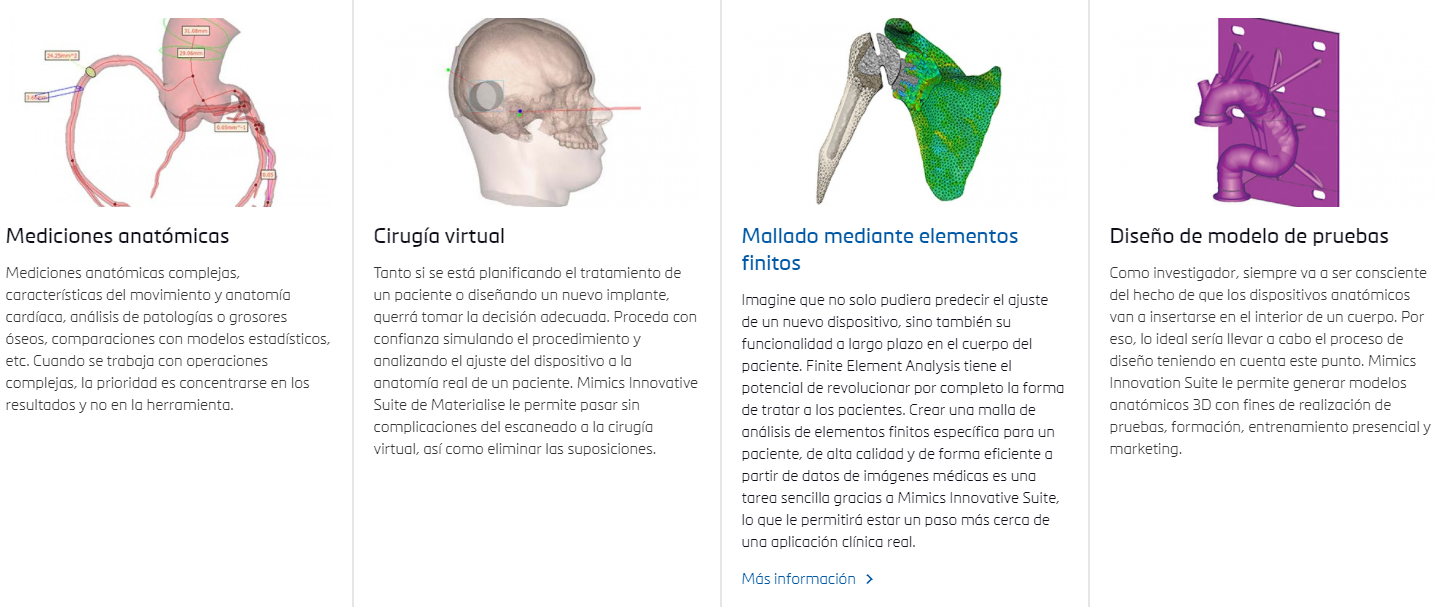
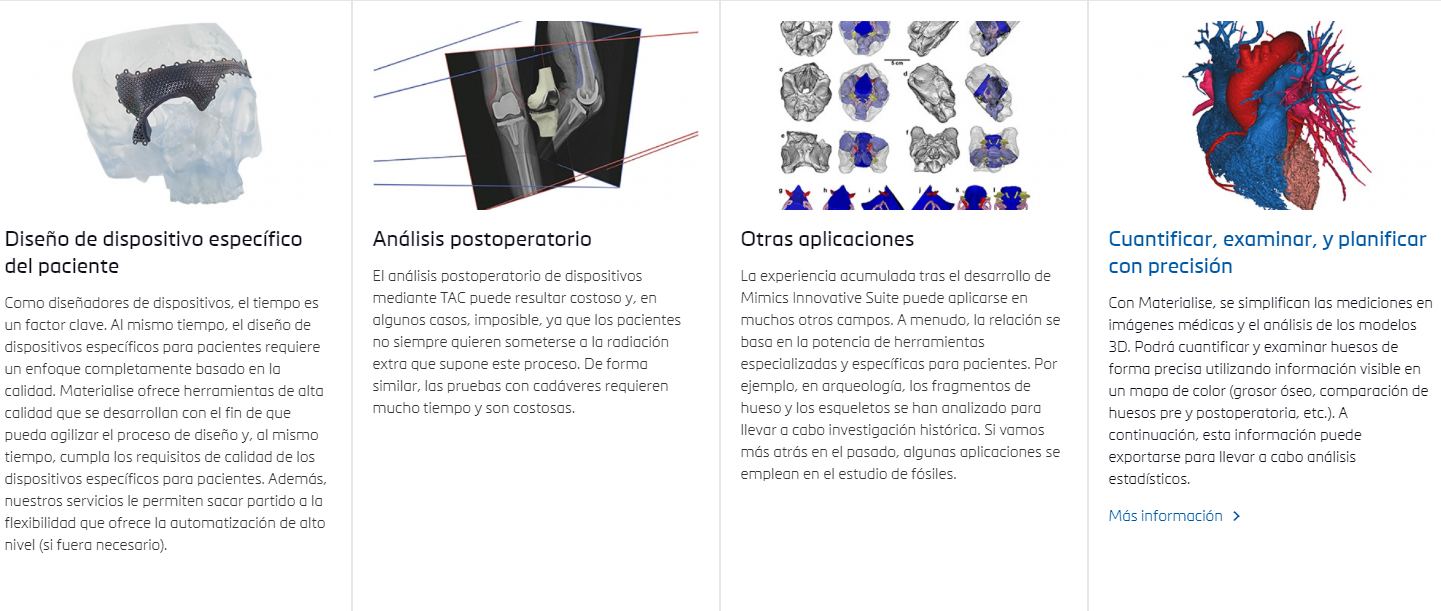
- Virtual Surgery
- Anatomical measurements
- Test model design
- Patient-specific part design
- Post-operative analysis
Mesh editing software
All the programs we have explained so far are used to extract a 3D model, an STL file, from the medical images. The problem is that sometimes, especially with free solutions such as 3DSlicer, the 3D models generated are not perfect. As it happens when we scan an object in 3D, it is very possible that some area of it has an error or needs to be slightly retouched. This is where the programs for editing meshes come in, which can be used to make these small but needed adjustments, such as:
- Scale, move and rotate the piece
- Eliminate unwanted areas resulting from imperfect segmentation
- Close gaps that may have appeared due to incorrect segmentation
- Smooth out areas that show any unwanted deformity
- Modify the geometry of some specific areas to adapt it to our specific needs
- Cut the piece to create different sections of it
In our case we recommend that you try Meshmixer, a free program from Autodesk that is the swiss army knife of the mesh edition.

We have already made a guide for this program, which you can find here and which will show you what you can do with it and how it will allow you to take medical 3D printing to a much higher level.
Some of the paid segmentation programs like Mimics have their own editing tool so you can work the models generated by the program itself, but it is always useful to know an external tool like Meshmixer.
Slicing software
As in any other 3D printing process, the final step is to run our STL file through a slicer to generate the Gcode that our printer can understand. For this there are many alternatives, and surely in a future article we will make a thorough comparison of all these slicers. The main and most important ones are:
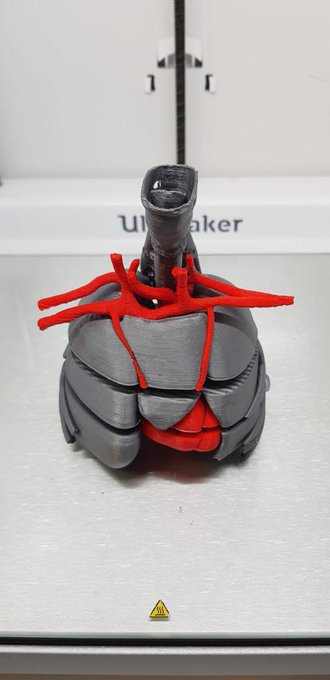
- Cura: Widely used in the medical sector due to its good integration with Ultimaker printers, also very popular in the professional sector
- Prusa Slicer: As in the previous case it is a very popular software due to its good integration with Prusa printers (configurable to the rest of the printers), one of the best options for print farms. Lots of control over printing and advanced options.
- PreForm: The Formlabs slicer designed for its printers and its post-processing ecosystem. In the professional sector, and particularly in the medical field, Formlabs resin printers are extremely popular because of their advantages over low cost resin printing alternatives. This slicer is one of the simplest and allows the process of slicing our resin parts almost automatically and with a very good system of self-orientation and automatic placement of supports
To conclude
We have seen the different steps in the process of medical 3D printing:
- Converting the images into a 3D model using segmentation software such as 3DSlicer (free), Mimics or Portal
- Correct possible errors in the resulting 3D model using some mesh editing software such as Meshmixer
- Slice this final 3D model using your preferred slicing software, Cura (Ultimaker), PrusaSlicer (Prusa) or Preform (Formlabs)
And you, do you have a medical or clinical 3D printing project in mind?
With our experience in medical 3D printing we can advise and train you to launch your project: