If you like the world of 3D printing, you’ve probably seen one of those spectacular 3D printed photos. It may seem like a complex design that requires advanced modeling skills, but nothing could be further from the truth.
Today we will explain how to design and print these three-dimensional images known as lithophanes yourself.
📖 What do you want to read?
What exactly is a lithophane?
A lithophane is nothing more than a 3D model in which the brightness of an image has been “mapped” to the thickness of the part. In this way our lithophane will be thicker in the darker areas of the picture and thinner in the lighter areas.
These three-dimensional models, once printed, only require good lighting to look incredible. The light will pass through the piece, getting darker in the thicker areas and emulating the color gradient of the original photograph.
Do you want examples? Here they are!

How to design your own lithophanes?
Designing your own lithophane is so easy that anyone can do it in a few minutes.
There are several ways to do it, but today we are going to show you the two easiest and most effective ways.
Using Cura
Yeah, you read it right. Cura, the laminator you’ve probably been using since you got your printer, is capable of generating lithophanes in a super easy way.
To do this we only have to open an image instead of opening a 3d file (stl, obj, 3mf…). We could also drag the image and drop it in the Cura window.

Once the image is loaded, a very simple menu will appear where we can change the size of the generated lithophane.
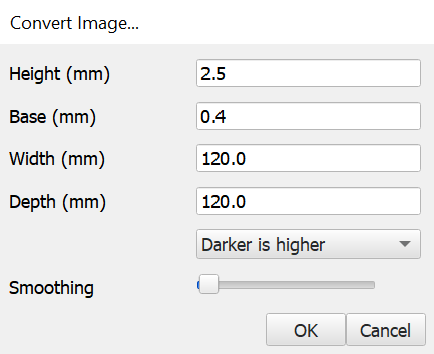
The Base parameter refers to the minimum thickness we want in our lithography, while Height refers to the maximum thickness. We can play with these two parameters, since by modifying them we will be varying the contrast of our images. Using a very low minimum thickness will make the white tones of the image look very light, while a high maximum thickness will make the dark colors darker.
In general, the range between the minimum and maximum thickness will depend on our filament, its transparency, its color, etc. The values recommended by Cure work reasonably well if we are going to print the lithophane in the orientation suggested by the laminator itself, i.e. lying down.
Printing the figure lying down has its pros and cons, since the image will generally have less resolution and color range unless we use a very low layer height. It is recommended to use the smallest layer height we can use in our printer for printing laid down lithophanes.
If, on the other hand, we want to print them standing up, we must increase the Base parameter to at least 0.5 or 0.6 mm, as it must be a number equal to or greater than our extrusion width (usually between 0.4 and 0.5 in a 0.4 mm nozzle). This is because a lower thickness would result in some areas of our print being thinner than the minimum printable thickness.
The other two parameters will be used to adjust the size of the lithopane. Modify them as you wish to obtain the desired size. It is possible that the program will give you an error or will directly stop responding if you try to change these parameters due to a bug in the latest versions of Cura. A very easy solution is to generate the default size model and scale it later, taking great care to scale only the X and Y axes, leaving the Z unscaled so as not to alter the delicate balance between maximum and minimum thickness.
Generating the 3D model online
The second option, and perhaps the best known, is to use this website. Here you can generate models with more freedom than in Cura, and we have many more parameters to adjust and shapes to choose from.
We believe that the best way to explain this part is with a video, so we leave you one of the Spanish expert Tu rincón 3D (Your 3D Corner) that explains step by step how to use this website to create a lithopane.
Why use a lithophane
We have explained two methods for generating a 3D model of a lithophane, but now it is time to ask what can I use these lithophanes for?
Well, there are many applications for this curious invention; we will tell you our favorites.
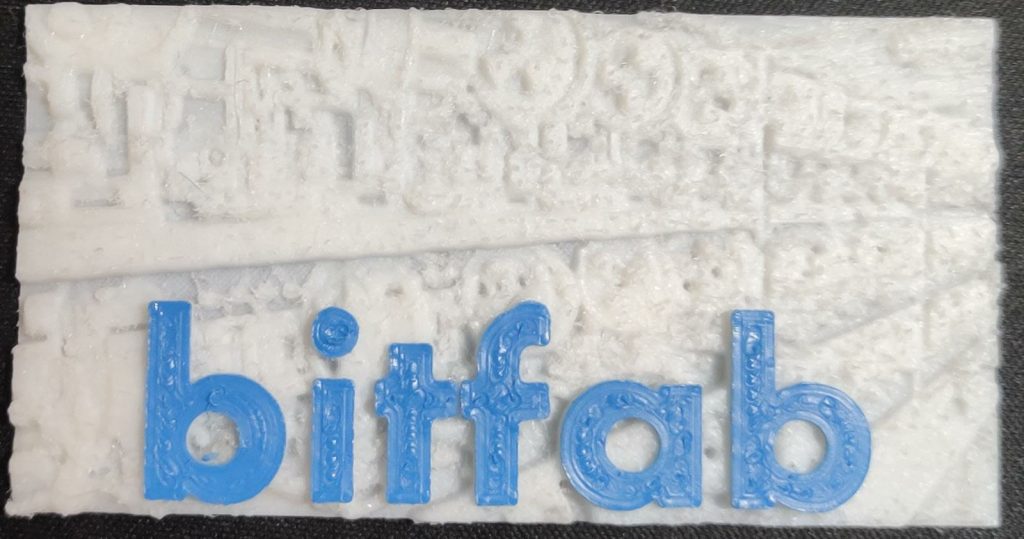
Lithophane as a business card
A very original application could be to make lithophanes to give them as a business card to our contacts.
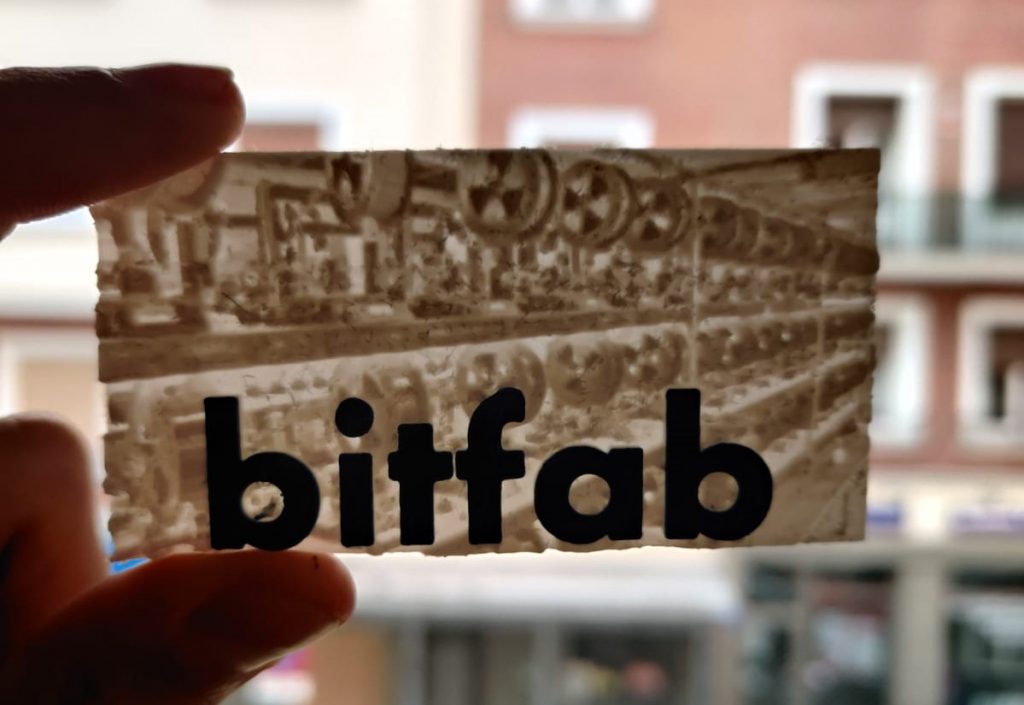
This idea can be very original, and will certainly leave everyone who receives it open-mouthed.
On a technical level, the card we show you costs very little, less than 20 cents, and was printed in 6 hours. It is clear that we won’t replace the classic business cards, but on special occasions we can give a very good and memorable impression that will be difficult to forget.
The specific example we show you is made by combining the litophane technique with a two-color print, changing the color at a certain height. If you are interested in knowing how we generated this model, please leave us a comment.
Lithophane as a lampshade
One of the most obvious uses is to create a lithophane to cover a lamp. In this way, by replacing the traditional lampshade with a 3D printed lithophane, we can create an incredible effect by providing direct lighting to the part.
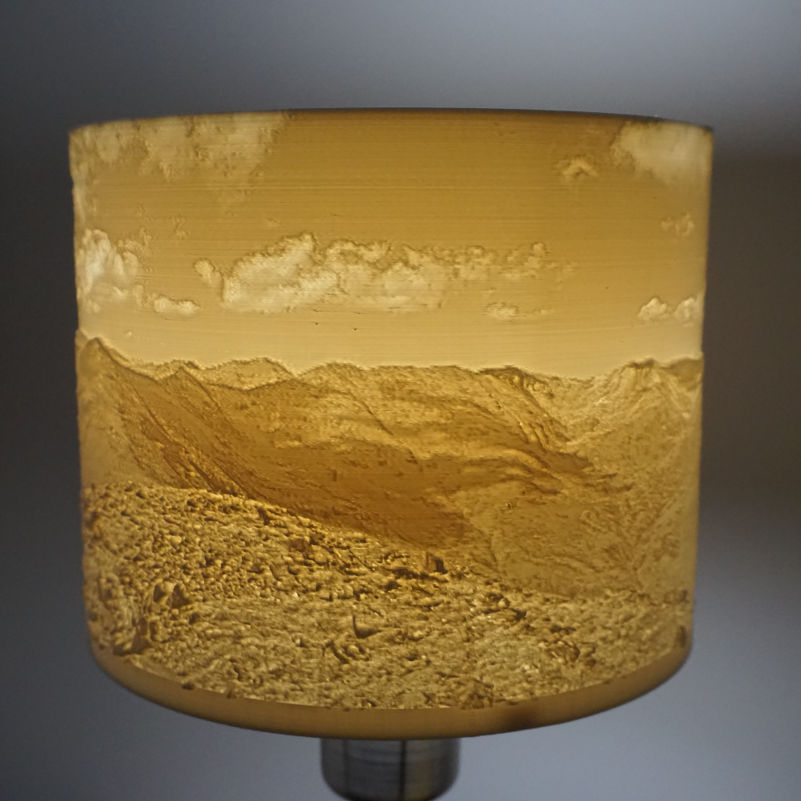
It is not a very difficult project, since we find many lamps where the lampshade can be easily removed and this one has a cylindrical base that we can easily adapt to a lithophane.
The super-common Lampan lamp from Ikea, costing $9.99, can serve us perfectly as a base, and we will only have to add a cylindrical lithophane of the same diameter as the original lampshade base.
Conclusions
We have taught you two methods to make lithophanes in a very simple way. You have also discovered two possible applications of this technique to amaze your friends and family.
If you don’t want to design a lithopane yourself, or if you want to do a more complex project and it gets out of hand, don’t hesitate to leave the hard work to us.