
🖥 Tinkercad is the gateway to 3D design for a huge number of users of all backgrounds.
Both newcomers to the world of design and 3D printing and more experienced people without previous experience in CAD software will find much value and usefulness in Tinkercad.
👉 That’s why today, in Bitfab, we want to show you who this program is for, what you can do with it and, most importantly, practical cases of how to make some basic objects to bring your projects to life.
What is Tinkercad?
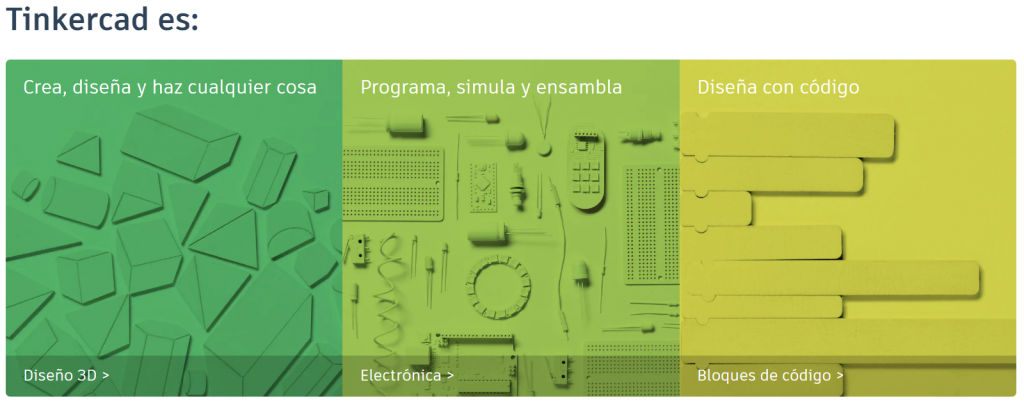
Tinkercad defines itself as “a free and easy to use application for 3D design, electronics and code creation”. Although in its origins Tinkercad was an application dedicated exclusively to 3D design, modules have been added to experiment with electronic circuits and programming under this same philosophy.
Today, having these three approaches, Tinkercad is a very powerful entry point for millions of makers looking to get started and create their first multi-disciplinary projects, ranging from equipment design to programming.
In today’s article we are going to focus on the 3D design section, but if you want a similar guide for the electronics and programming sections, don’t hesitate to leave us a comment. We’d be delighted to do it!
Who can use Tinkercad?
Tinkercad may seem like an application designed for children because of its apparent simplicity and its attractive, colourful and intuitive design. This is because, effectively, Tinkercad is designed so that even the youngest members of the household can enjoy it. However, if you’re an adult, I’m sure you can get a lot out of Tinkercad too.
Besides children, Tinkercad is aimed at a maker audience, who are looking for a simple way to bring their projects to life. This means that, whether you’re a total newcomer to the world of 3D design or someone with knowledge of mechanical design but who doesn’t master any CAD programs, Tinkercad is a very valuable tool for you.
Even if you’re a user who masters apparently more advanced 3D modeling software, you’ll see that there are some features in Tinkercad that make it unique, and that will make you, whether you’re an expert in Fusion360, Blender or Z-Brush, find Tinkercad a valuable resource.
Why is Tinkercad interesting?
Well, apart from its capabilities as a 3D design and modelling software, Tinkercad has other features that make it very interesting.
Create from everywhere
Tinkercad is a software that runs in the browser which means that there is no need to install anything on our computer. In addition to this convenient feature, it also means that it is a program that can be run on any computer, even those that lack the power to run traditional CAD software.
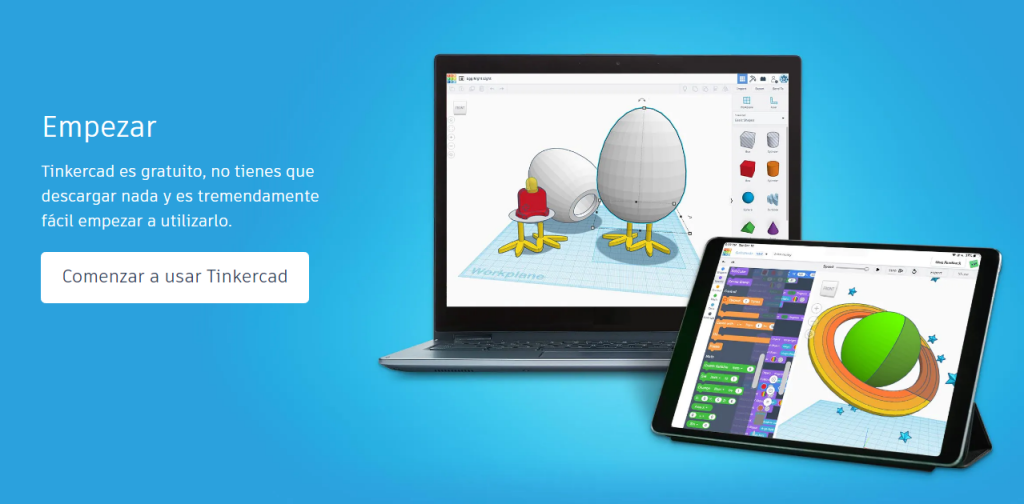
As if that weren’t enough, we can use Tinkercad from portable devices such as tablets or mobile phones, opening up a huge range of possibilities by incorporating a touch screen as an input method. This will allow us to do unique things that we’ll talk about later.
Learn in an easy and guided way
Tinkercad is one of the CAD software with the best source of tutorials and official guides. You won’t need to search for courses on YouTube or ask your expert friend. Tinkercad puts at your disposal, free of charge and from the very start, a lot of learning guides so that you can get to know all the possibilities it offers.
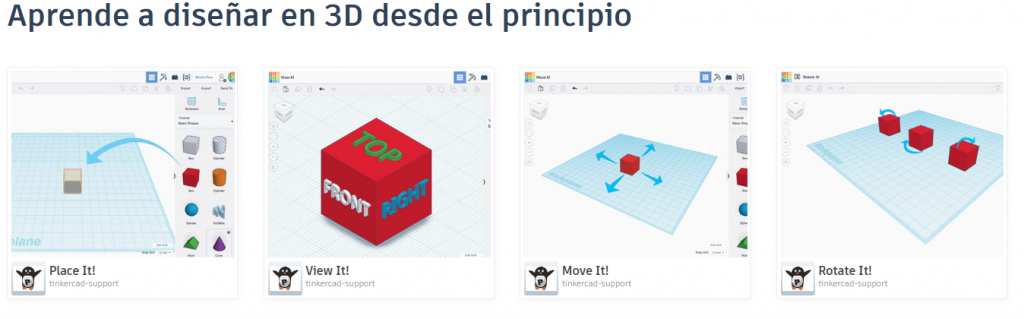
Not only does it offer us guides in a tutorial format, but it also offers us a large number of projects where we can learn how to do them from scratch following very carefully thought out instructions.
Join a community of makers
Tinkercad is designed so that you can easily share your designs. In this way you can not only send your models to your friends, but also share them with the whole world through the same portal.
This opens up the possibility of working collaboratively, editing, modifying and downloading designs from another person and adapting them to our tastes or needs. In this way you can be part of a huge maker community and work side by side with thousands of people around the world.

Not just for home users
If you’re looking for a way to start in 3D design to develop some of your industrial projects, don’t think that Tinkercad won’t be useful to you. Obviously, parametric design software is better adapted to this type of application but below you’ll see that with Tinkercad you’ll be able to quickly try out designs such as tools, boxes for your equipment, business cards…
Unique Utilities
Tinkercad, although it may seem a simple application, contains some utilities that no other program has, or at least not in such an easy and accessible way.
Among these functionalities we find things like:
- Turning our design into layered pieces that we can print and assemble
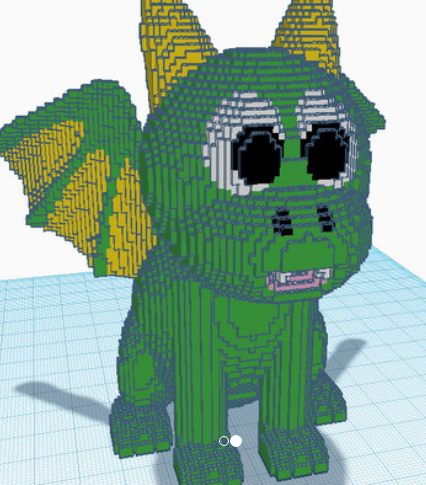
- Giving our design a blocky, Minecraft-style look
- Converting our hand-drawn drawings into 3D models
Tinkercad Use Cases
In this part of the article we’re going to show you four little projects you can do with Tinkercad. In each of these four little projects you’ll learn certain characteristics of this software that make it unique. So don’t lose track!
The use cases we’re going to show you are:
- How to create your own business cards, including your signature, logo and contact information
- Learn how to make a box for your electronics project. In our case we will teach you how to make a box for an Arduino, but you can use it for any electronic equipment you are planning to make
- Design your own tool or office supply organizer to keep your desk always tidy
- Create a personalized case for your smartphone
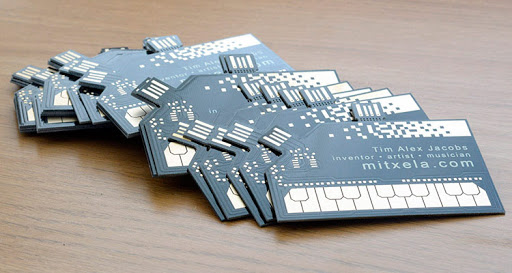
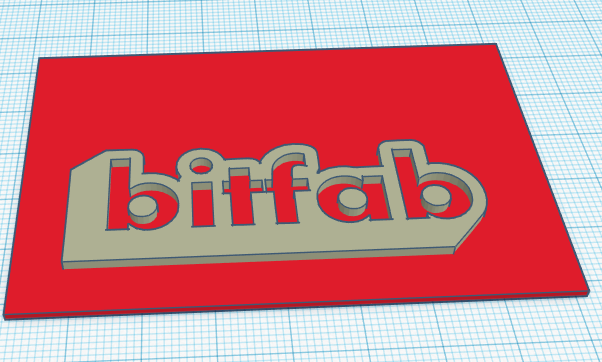
Create your own business cards
Here we will show you how to create your own 3D printed business cards. Why would you want to do this when paper cards are so cheap? Well, it’s simple: for originality’s sake.
The purpose of a business card is to make a positive impression on the person receiving it and to capture their attention, as well as to include contact information. Well, don’t you think a 3D printed business card is the most eye-catching option? Many business people are already joining this trend, creating increasingly original business cards such as some made with PCBs or integrated circuits; so don’t miss out.
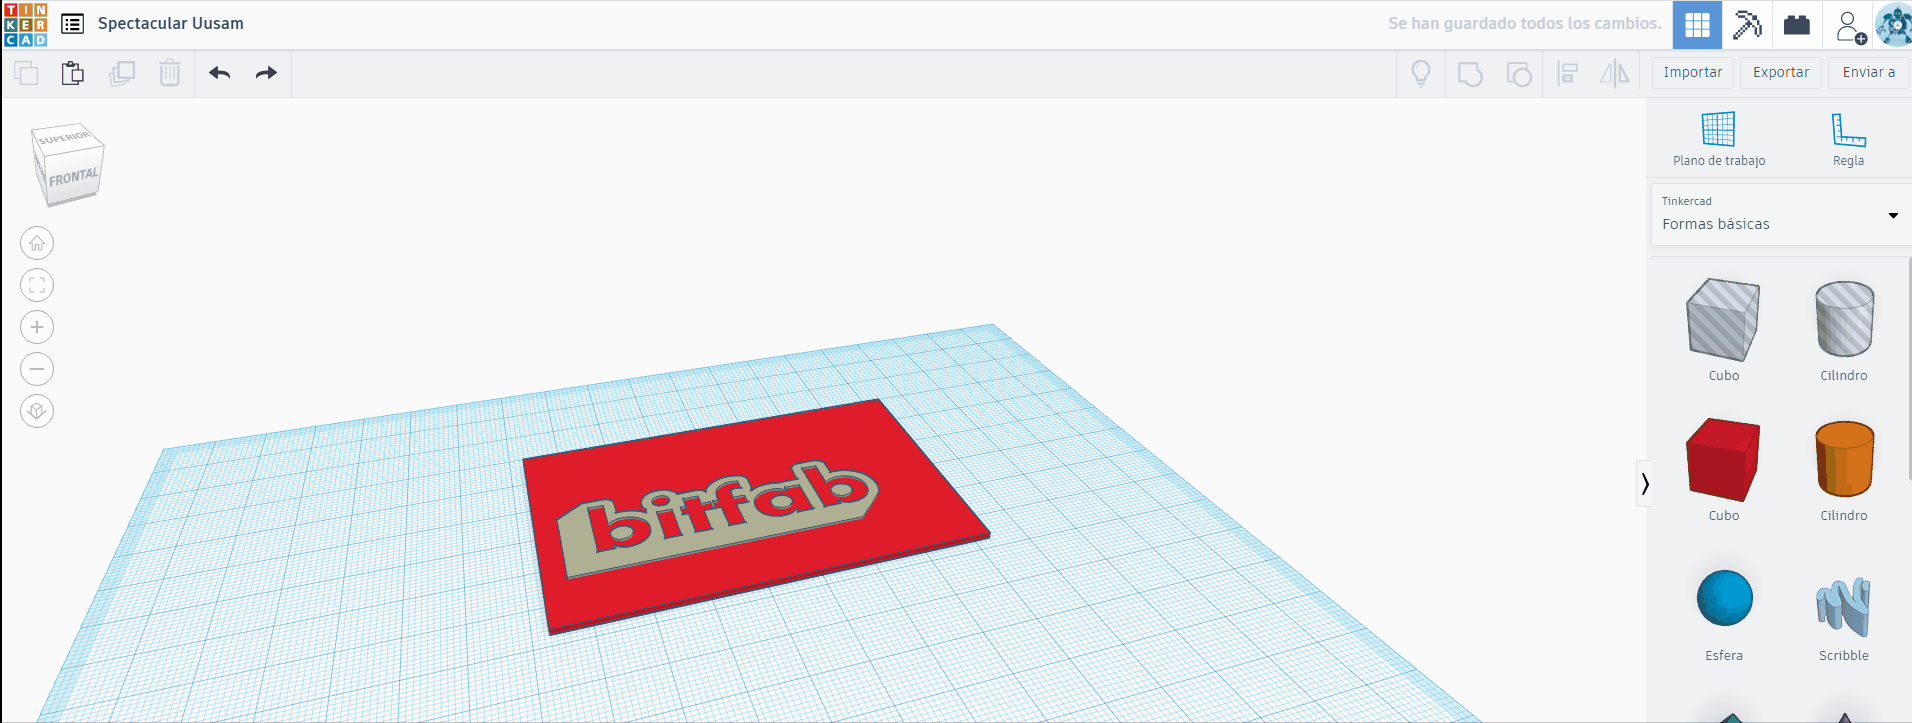
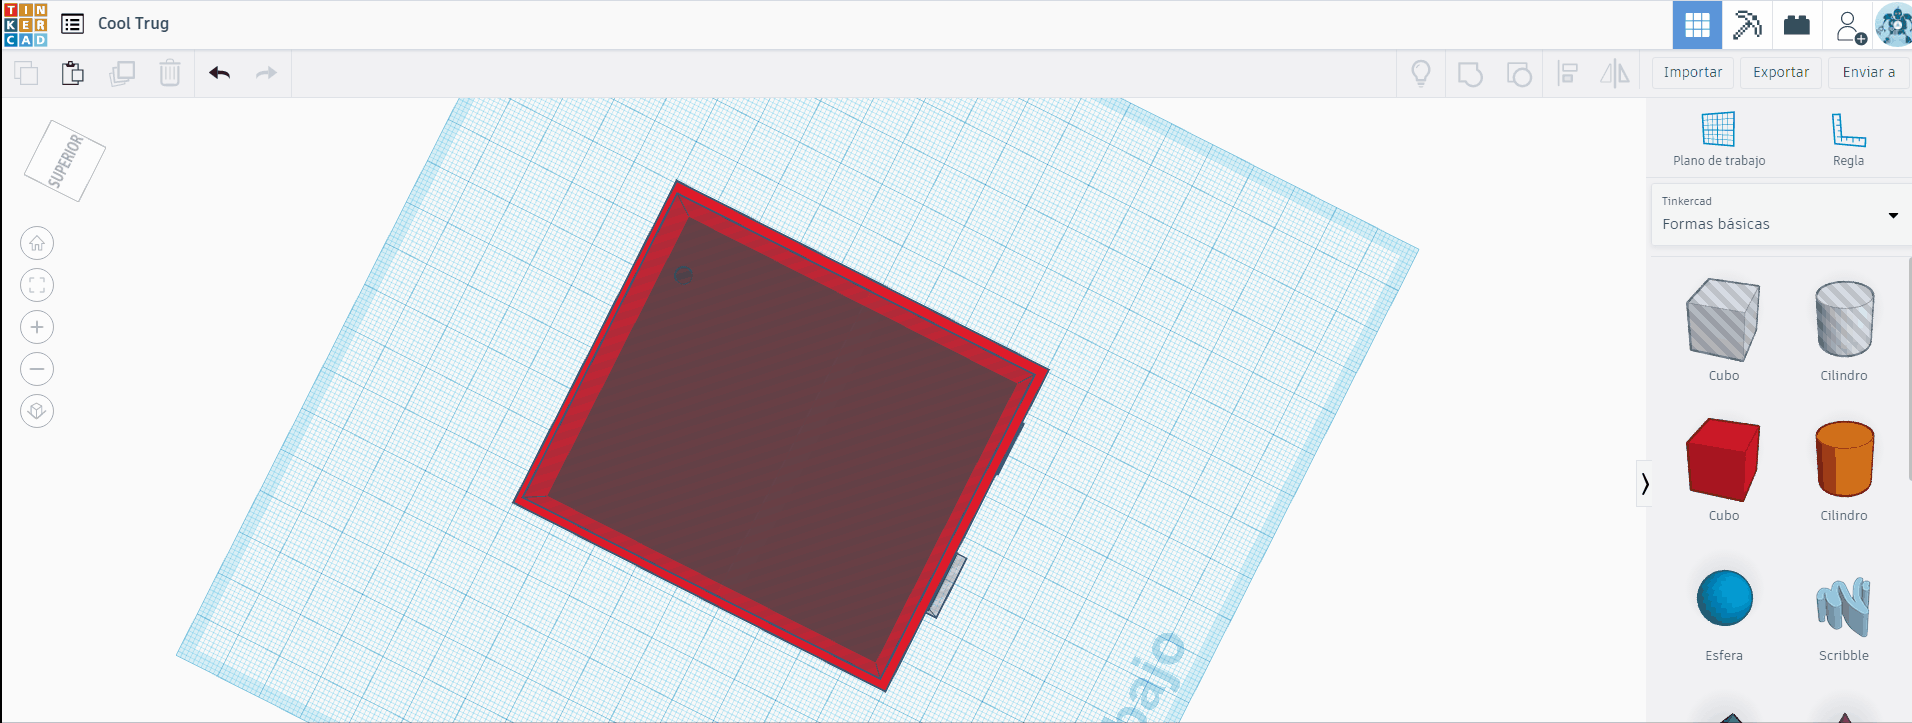
The usual dimensions of a business card are 85×50 mm, so we will start our design by dragging a cube from the right panel and giving it the appropriate measurements. We will give it 1mm in height.
Then we will add our logo in svg format. In our case we have converted the logo in png to svg using inkscape, but you can do it any way you want. To import it to Tinkercad we only have to click on “import” in the upper right corner and look for our file. When imported it will appear as a 3D model, and we only have to adjust it to the size and position we want.
The next step is to align the logo in the lower left corner, using the alignment tool in the upper right corner. This way we will get the logo perfectly aligned instead of trying to align it by hand with the card.
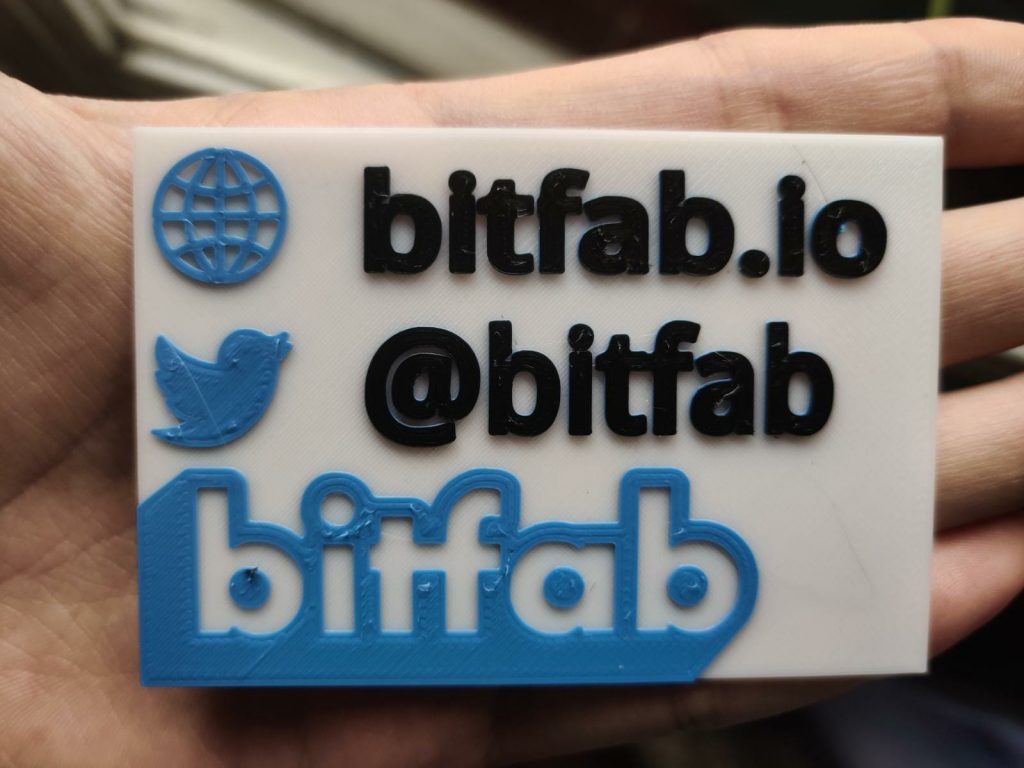
Now all we have to do is add our contact information to make the card actually useful. In our case we will include our website, as well as our twitter user, where you can follow us to find out everything we upload. We will use the text tool and add the twitter logo in svg format just like we did in our own logo.
The best way to print these cards is to use different colors, so we’ll put the bitfab and twitter logo with a height of 1.4mm, so that it’s a bit higher than the card and we can use another color. Finally the text, both from the web and from the twitter user will be 1.6mm high so we can add a third color to create more contrast.

Once it is finished, there is only the printing left, with the changes of filament for the corresponding heights. We recommend you to print with a layer height of 0.1mm.
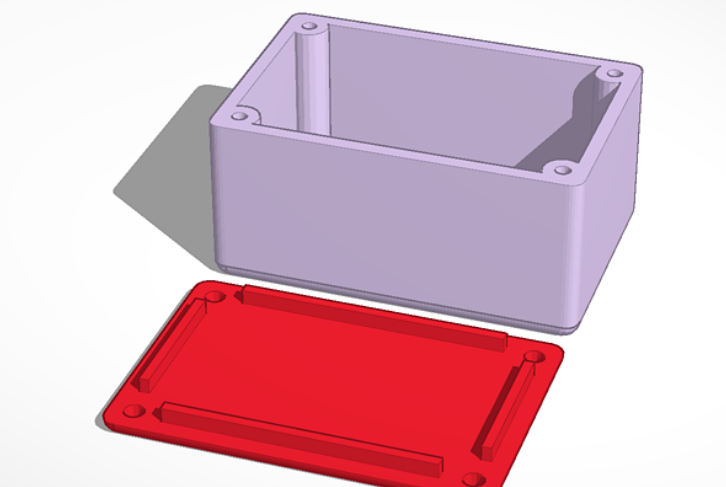
Design and print a case for your electronics project
For this article we have chosen an Arduino as a plate, as it is one of the best selling equipment in the world and is used by many people for their projects. That’s why we’re going to show you how to make a box for your Arduino using Tinkercad in a very simple way.
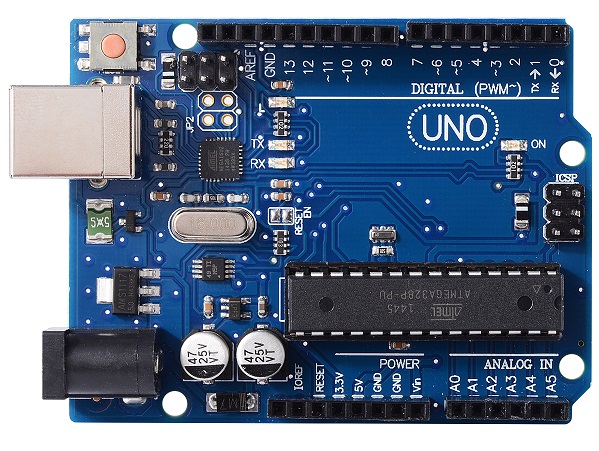
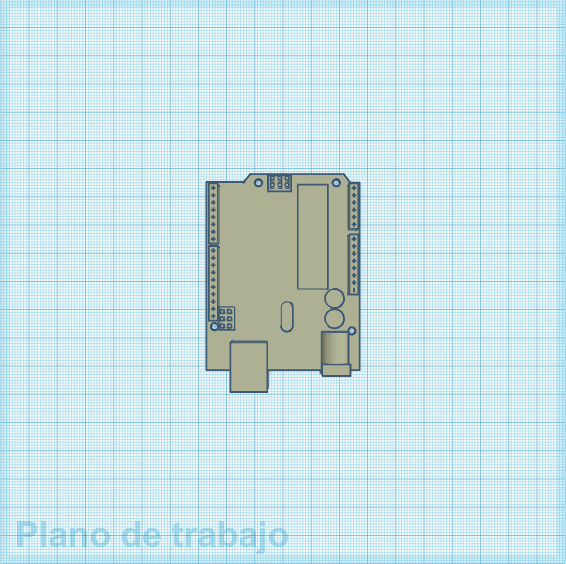
The first thing we have to do is get the measurements of our equipment. In our case, and as we have already told you in our article about 3D scanning, we believe that a very intelligent way to incorporate the measurements of a piece into our 3D design is to directly include the 3D model in our design.
We will use a thingiverse model of the Arduino One to create the case without having to worry about taking the measurements. Once imported by pressing the “import” button in the upper right corner, the model will appear in our work area, and we can start working on our case.
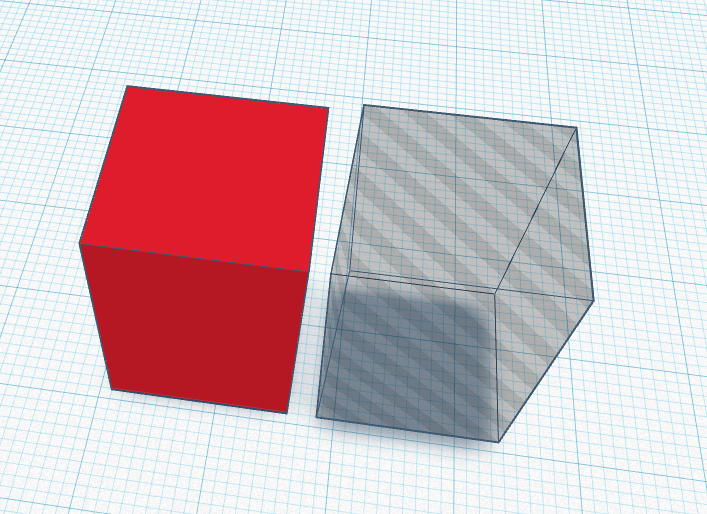
To create this box we are going to make use of the Tinkercad’s hollow functionality. This allows us to convert any figure, block or model we have in the work area into a hollow space so that when combined with other objects it will hollow out the second one using the first one.
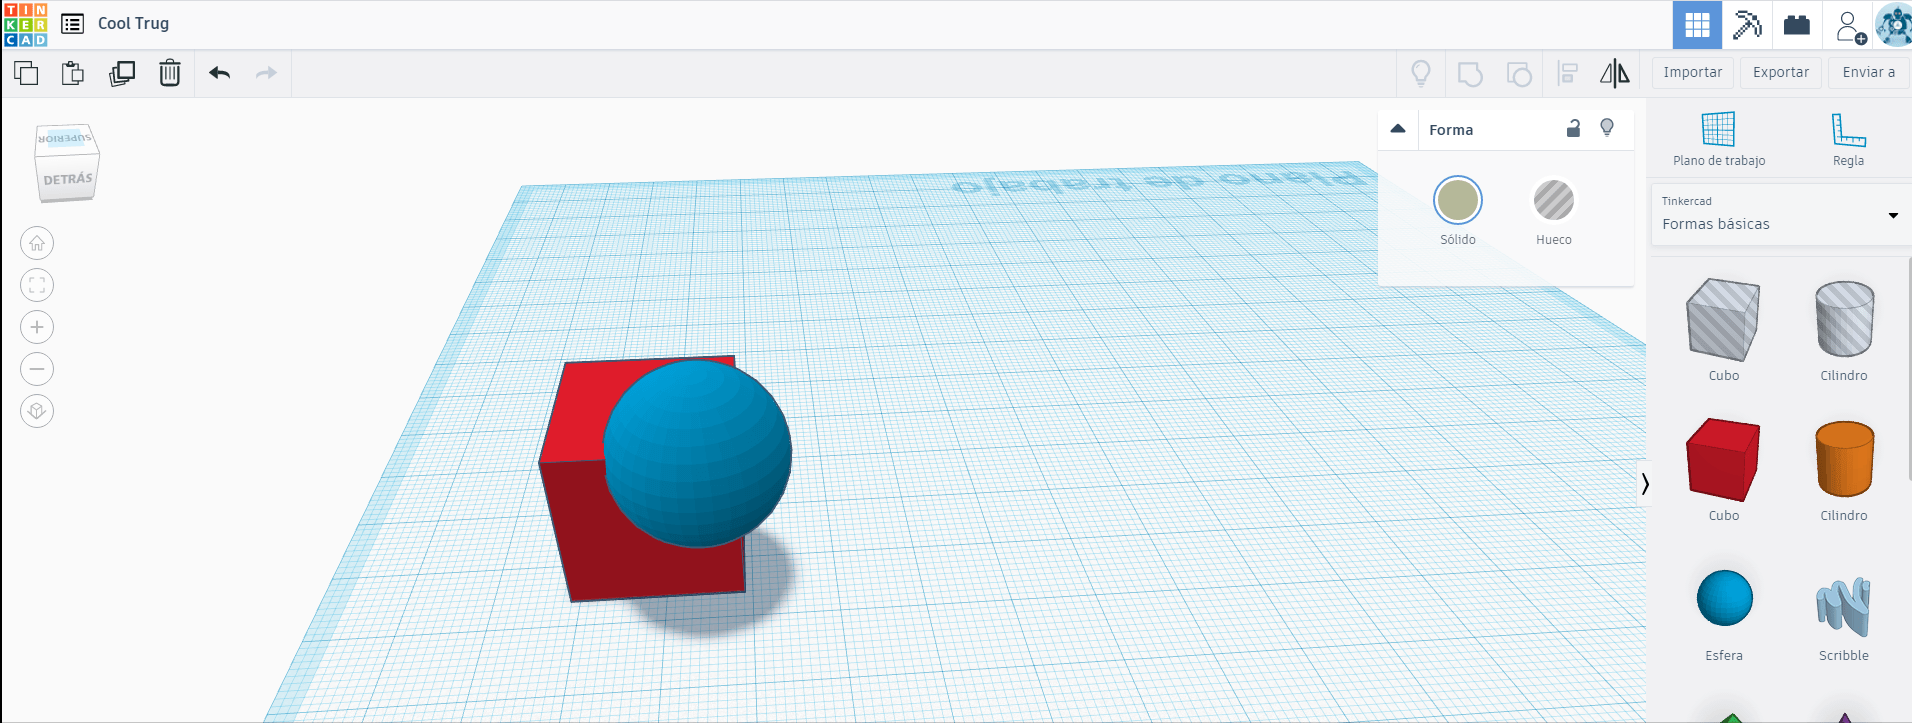
Using this feature, we will add a cube that we will size to form the exterior of the case and a second smaller cube that will make the interior space where we will put the Arduino.
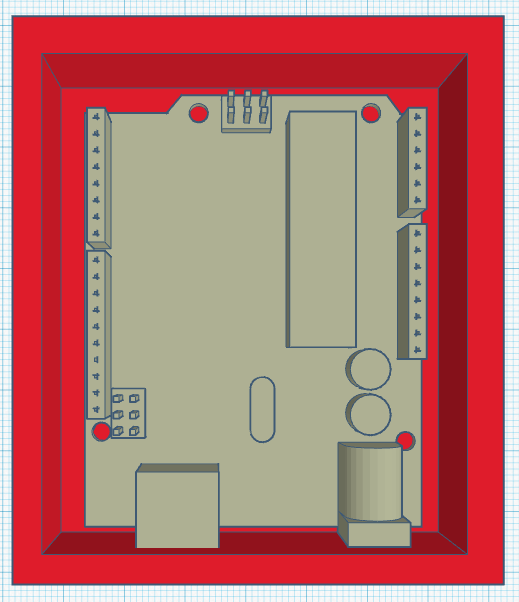
As you can see, the power and data connections are cut off by the box, and this is because we will make some holes in the wall of the box to be able to plug in the cables. We will use the “hollow” tool as we did before to create enclosures of the size of the connectors that we will use to hollow out the case itself.
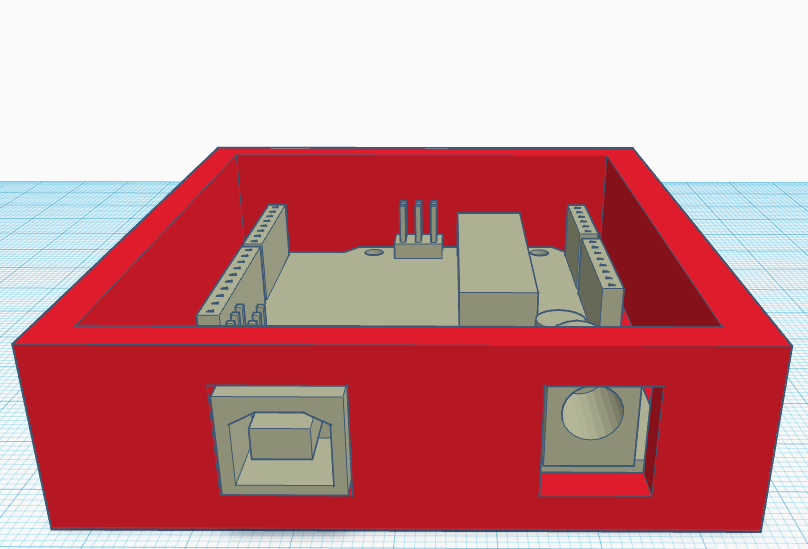
Now we only need to make the holes for the screws that will hold the plate to the case. There are more complex systems, such as putting a nut embedded in the box so that the screw does not have to be screwed into the plastic itself. Since this is a very basic project we are going to add 3mm holes so that a metric 3 screw can be screwed into the plastic itself, which works quite well.
As this box looks a bit sharp around the edges, we are going to cut them a little bit more rounded. To do this, we must ungroup the objects that make up the case to be able to edit the two cubes that form the body (the exterior and interior). Once ungrouped we only have to select them and change the “radius” parameter.
The result is simple but effective, and will serve us perfectly to host our Arduino. Many improvements could be made, such as adding a cover, but a very simple and effective one is to stamp our logo on the box. This way it will be totally unique, and our equipment will have its own personality. To stamp it we simply import it and using the “hollow” tool we place it wherever we want.
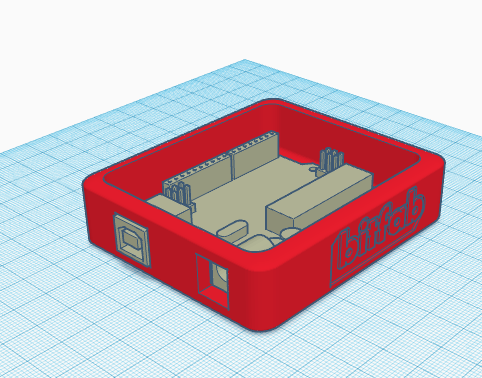
This model, very easy and fast to create, can be used to prototype your equipment, as well as to create boxes with a lot of personality that will give your projects the boost they need.
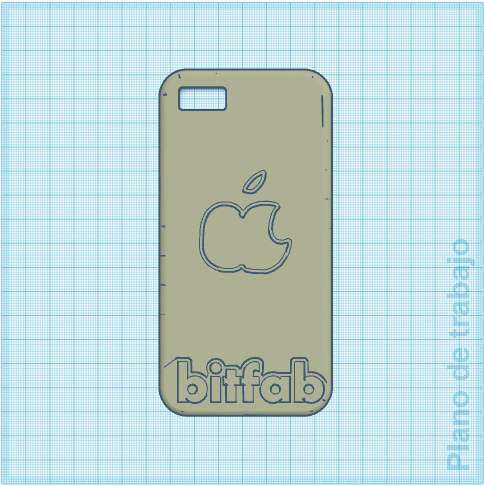
Personalized mobile phone case
A very interesting tool from Tinkercad is the Scribble tool. This tool allows us to include a freehand drawing in our design by using the mouse of our PC, a graphics tablet or even a smartphone or regular tablet.
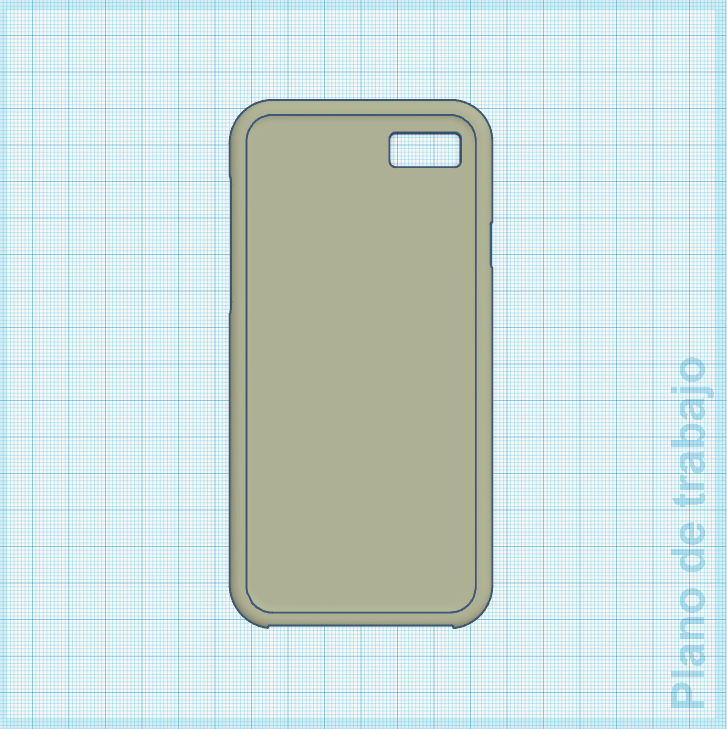
As an example, we thought it might be interesting to customize a mobile phone case, downloadable from thingiverse. We just need to find a case for our smartphone, download it and import it into Tinkercad.
Then we just have to drag the “scribble” tool into the work area and start drawing. In our case we have done it using an iPad Pro that allows us to draw with the pencil.
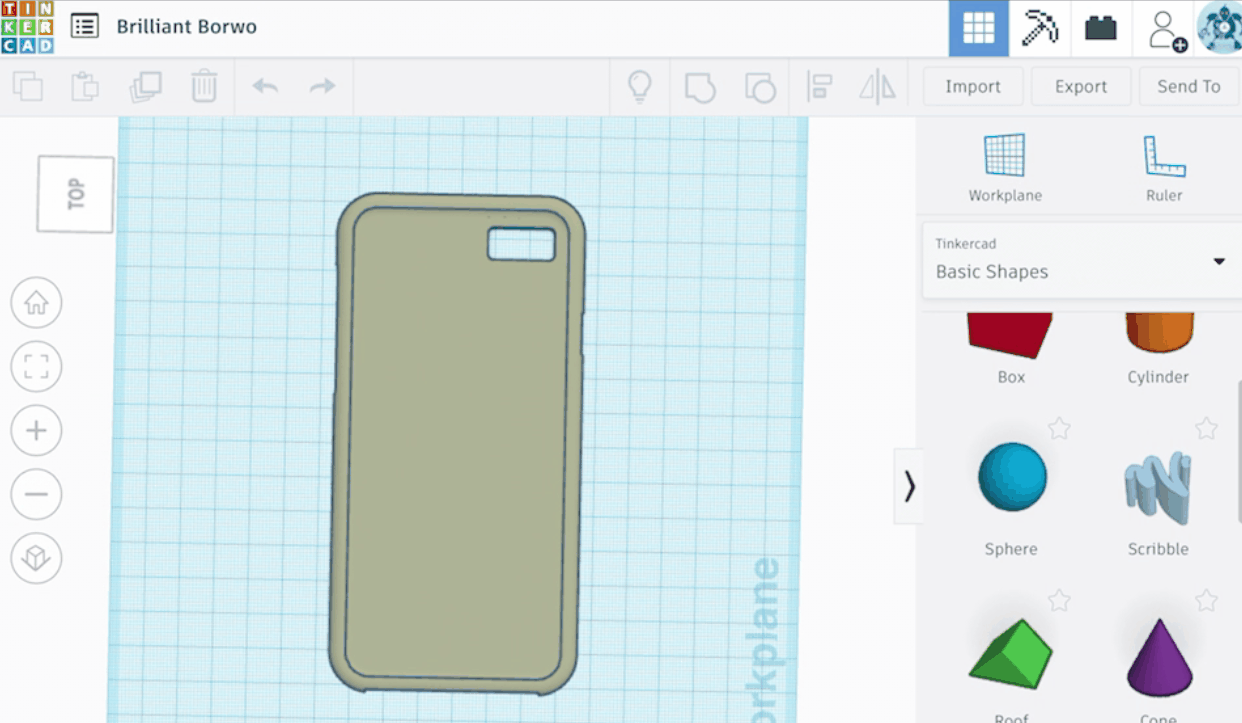
When we finish drawing, the drawn shape will become a 3D model that we can insert in our model as we want. We have stamped it on the back of the case, next to our logo. Now we can have the most famous apple in the world even though our phone is not of the Cupertino brand.
This is an extremely simple example of how to use the scribble tool to insert handmade drawings into our 3D models, but, as you may have noticed, the possibilities are enormous. This is a tool that makes this work much easier, since, to do something similar with other software, we would first have to make the drawing digitally or by hand and scan it, then vectorize it using an additional program, and finally insert this vectorized image into our model.
Organizer with compartments
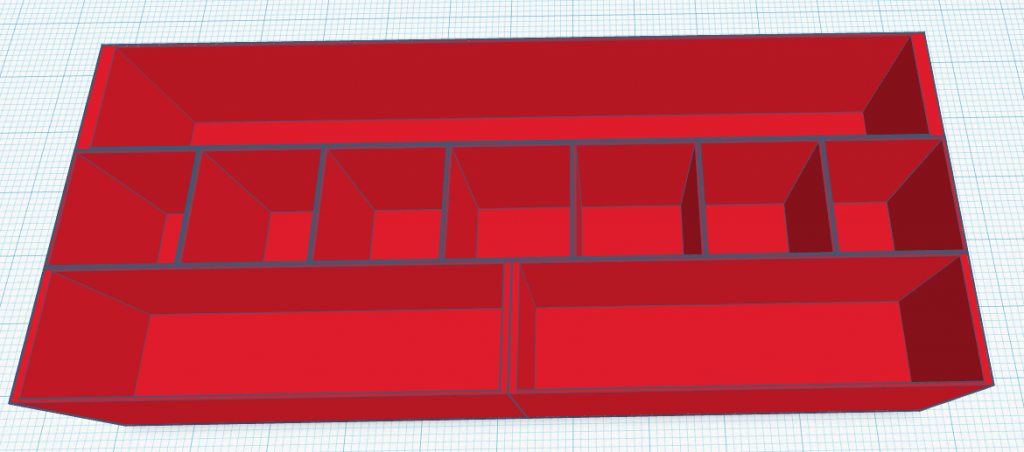
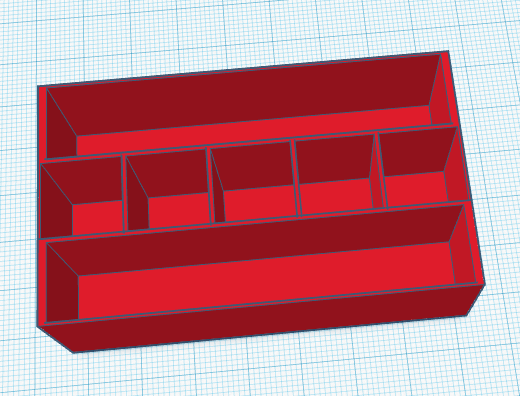
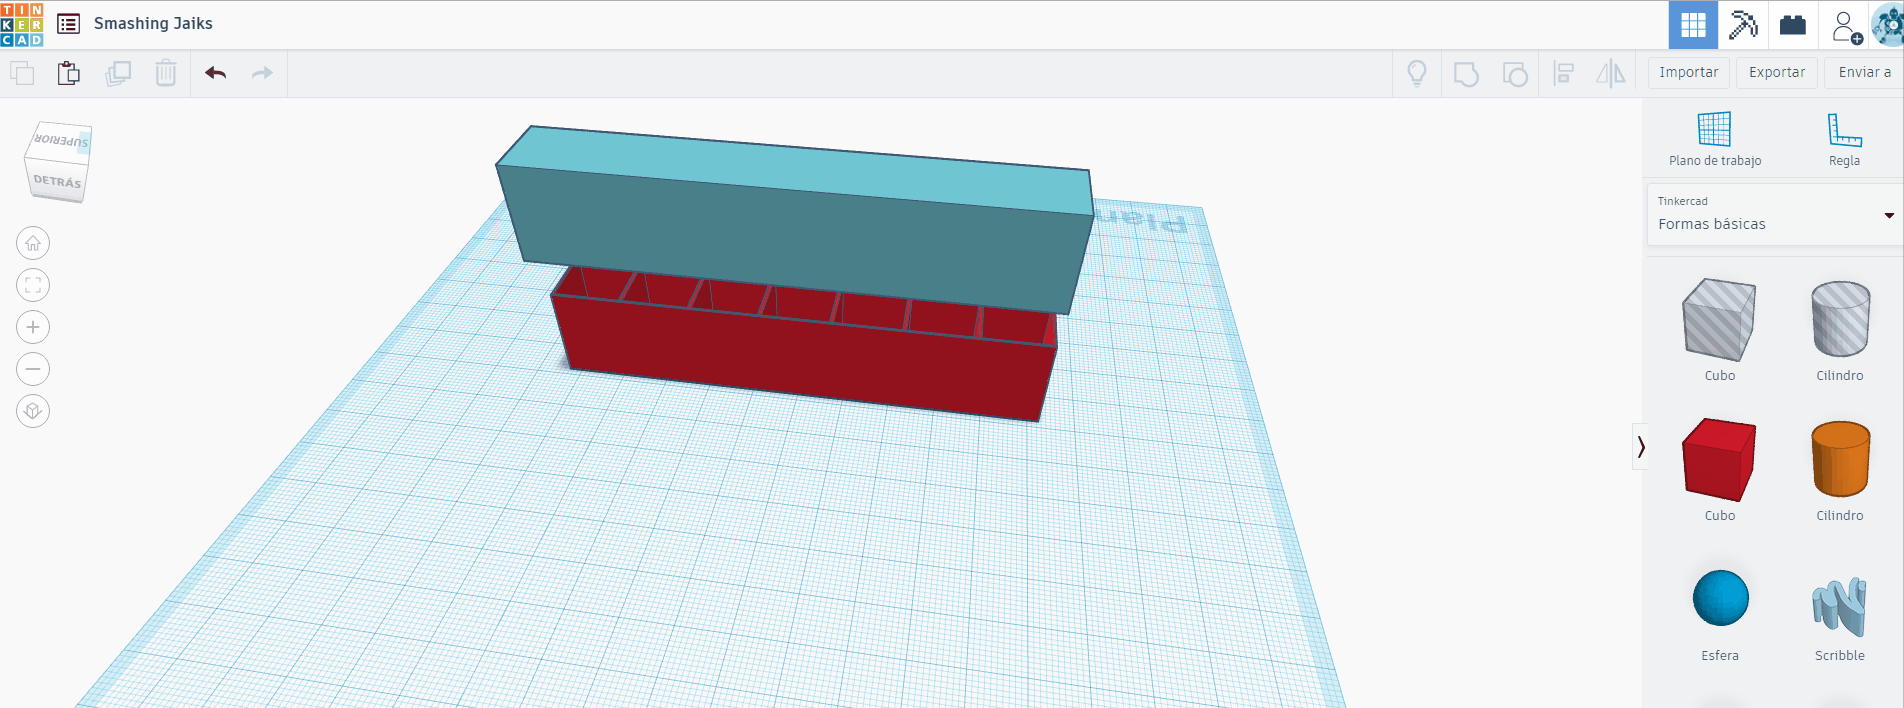
The last example we are going to show you is a compartmentalized organizer. It can be used to store pencils, office supplies, tools, pills if we make it small… The idea is very simple but it has many possibilities.
We are going to make an organizer for our elders’ pills, because, especially in these times, it is important to take care of them and make sure they don’t run out of anything.
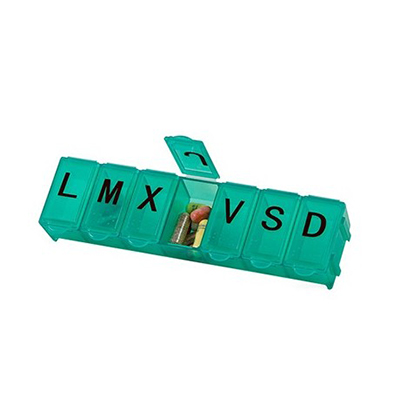
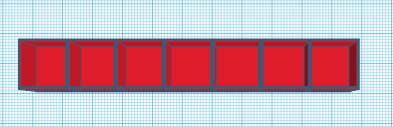
The first thing is to decide what shape we want our organizer to have. As we are going to make a pillbox, we will choose a design with 7 compartments. Here we can choose the shape we want, but we will keep the traditional rectangular format.
There are many approaches to make this model, but we are going to explain a very simple and effective way. The first thing we have to do is model one of the compartments. To reduce the amount of material and printing time, we are going to make this compartment so that it has only one or two perimeters. That will be strong enough and will save us a lot of material compared to making thicker walls.
For this we must drag the shape we want, in our case a cube, and give it the dimensions we want the compartment to have. 15×15 mm for the base is enough in our case, but you can make it the size you want. Then you must drag another cube and give it the same dimensions but subtracting 0.5mm to each side, to create the inner cube. In our case 14.5×14.5mm
Then we just have to align both figures, lift the inner cube (which has to be set in hollow mode) 0.5mm to create the floor of our compartment and combine them.
With this we already have the basic component of our organizer; now we can clone it to create as many compartments as we want. In our case there will be 7, arranged in a straight line to maintain the traditional format.
As we have already mentioned, we are making a pillbox, but with this same strategy you can very easily create more complex structures to suit your needs. We have created a few in just minutes so you can see what you can do.
If you have problems aligning the compartments, you can lower the size of the grid by clicking on the “adjust grid” button in the lower right corner. A value of 0.25 will give you much more control to perfectly adjust the position of each compartment.
Continuing with our pillbox, now we have to make the cover. For this we will have to create a parallelepiped that is the same size as the whole block and one that is 0.5mm larger. These two blocks will be the inner (hollow) and outer (solid) part of the lid.
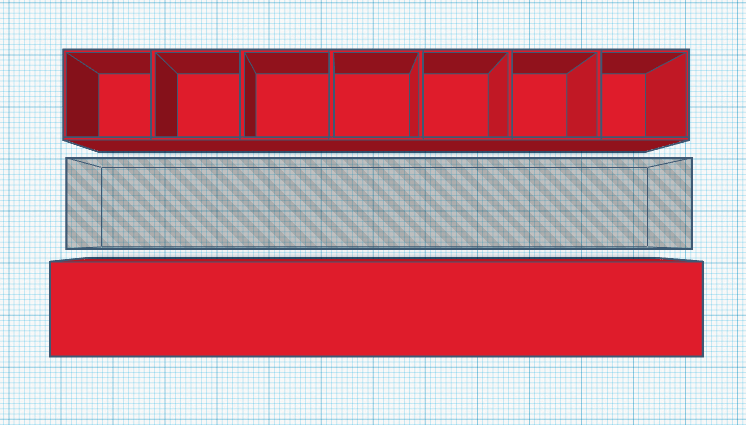
Now we simply line up and combine the two parts of the lid and, Voila! Our pillbox is finished. To add a bit of tolerance and make the lid slide better we can scale the lid up to 101%.
Of course, we could add a lot of details, like including our logo, or adding some handmade drawing.
Conclusions
Today we showed you Tinkercad, a cloud-based software for designing 3D models. Although at first glance it may seem like something for children, we have shown you a lot of things you can do with it if you are an adult or even a professional.
Tinkercad is, without a doubt, one of those programs that has become an essential part of the maker’s world, and serves as a gateway to this hobby for thousands of people. For the more experienced, Tinkercad is not outdated, as it has some surprisingly useful features even if we compare it to other more complete and “professional” programs. Don’t be fooled by its colourful appearance, Tinkercad is for everyone.
We’ve left out a lot of things that we could still tell you about, like the modules for programming or designing and simulating electronics. We strongly recommend that you try it out, but if you want us to explain everything about how to use it, don’t hesitate to leave us a comment.