Although a few years ago the slicer landscape was focused almost exclusively on Cura by Ultimaker, there are now plenty of free slicers available. Among these, one of the best and most popular at the moment is Prusa Slicer.
Even if it is by Prusa, it is suitable for almost any printer on the market. Features such as monotonic filling, ironing of the top layers, correction of the elephant foot, manual placement of supports, variable layer height … We will show you all this and much more today at Bitfab.
📖 What do you want to read?
What is Prusa Slicer?
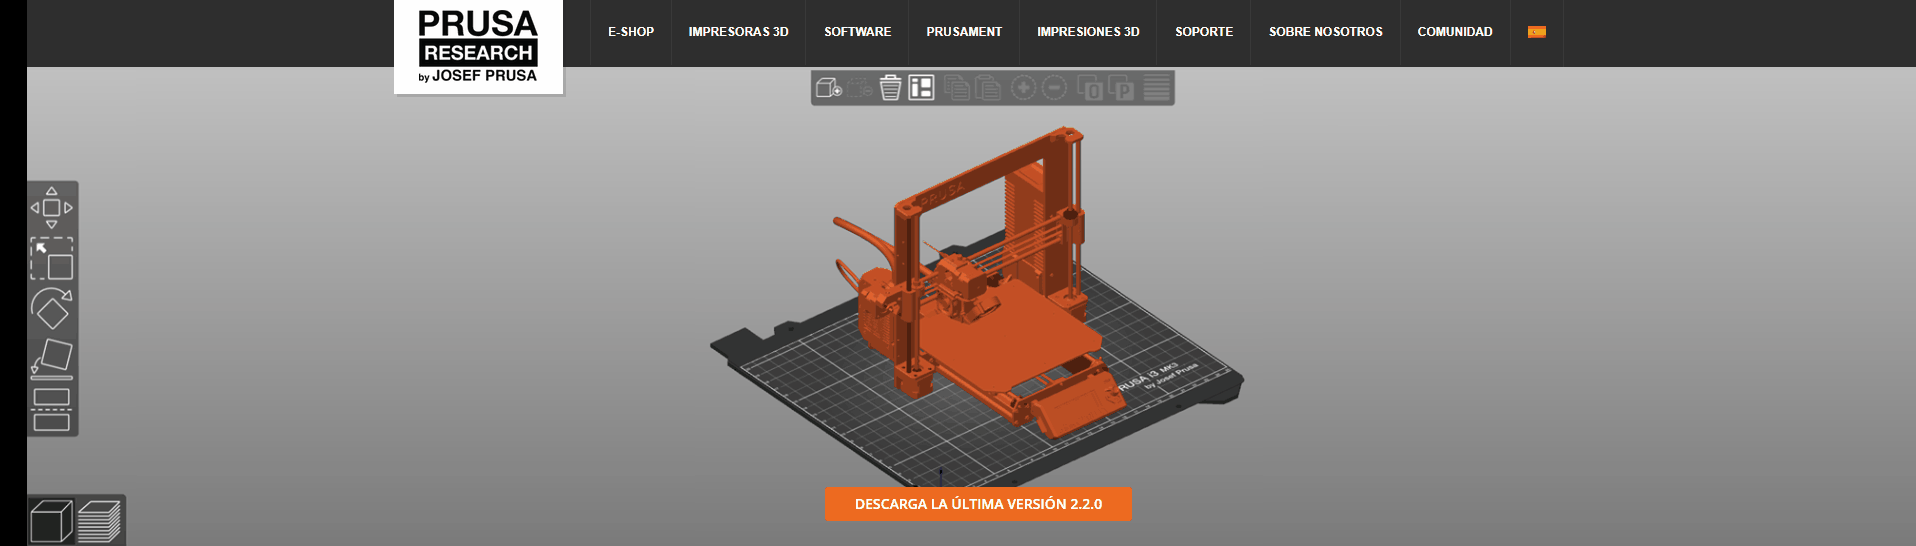
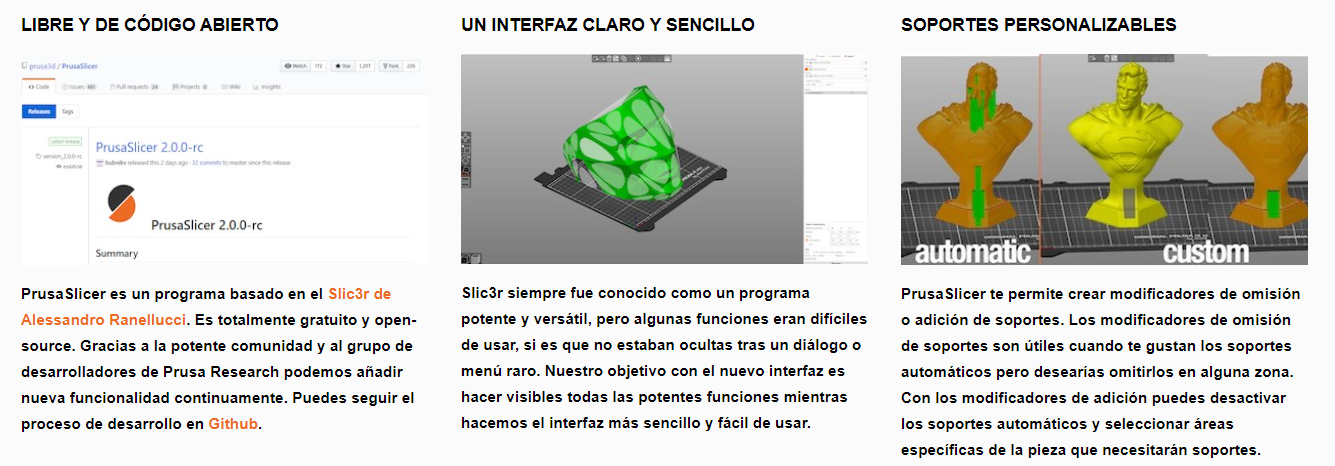
Prusa Slicer is a slicer for 3D printers. A slicer is a program that converts our 3D models into a G-code file, the language that 3D printers (and other machines such as CNC or milling machines) “speak”. This software, owned by Prusa, was originally based on an open source slicer called slic3r, although this last one has been discontinued for years and Prusa slicer seems to be its “heir”.
Prusa is dedicated to actively develop this software, with an internal team of 7 developers, keeping it open source through its github. In this github we can find the most recent versions with the latest functionalities, even without a complete validation.
What features does Prusa Slicer have?
Prusa Slicer is one of the most developed software, which means that it is updated a lot and very often. It has assimilated the best features of other software and, in its latest version to date, 2.3 (available on its github), has many features and functionalities.
We are going to tell you about the features that we like the most so that you can see all that Prusa Slicer has to offer, whether you are a pro maker, a novice or a professional in the sector.
Modes for all: from experts to novices
The developers of Prusa Slicer know that their software has many features, so many that it can be overwhelming. That is why it offers us the possibility to choose between 3 modes: simple, advanced and expert. Each of these modes unlocks more and more functions so you can choose the one that best suits your level of experience to avoid touching what you should not.

This slicer is structured in several sections, each one having parameters that are unlocked depending on the level of complexity that we choose:
Printing configuration
FIlament configuration


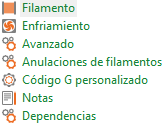
Printe configuration
Preconfigured profiles for printers and filaments
One of Prusa Slicer’s greatest virtues is immediacy. If you have a Prusa printer (we have several) you can use its pre-configured profiles to print in a very refined way without having to touch practically anything. Luckily, each update includes new pre-configured profiles for other brands’ printers and filaments.
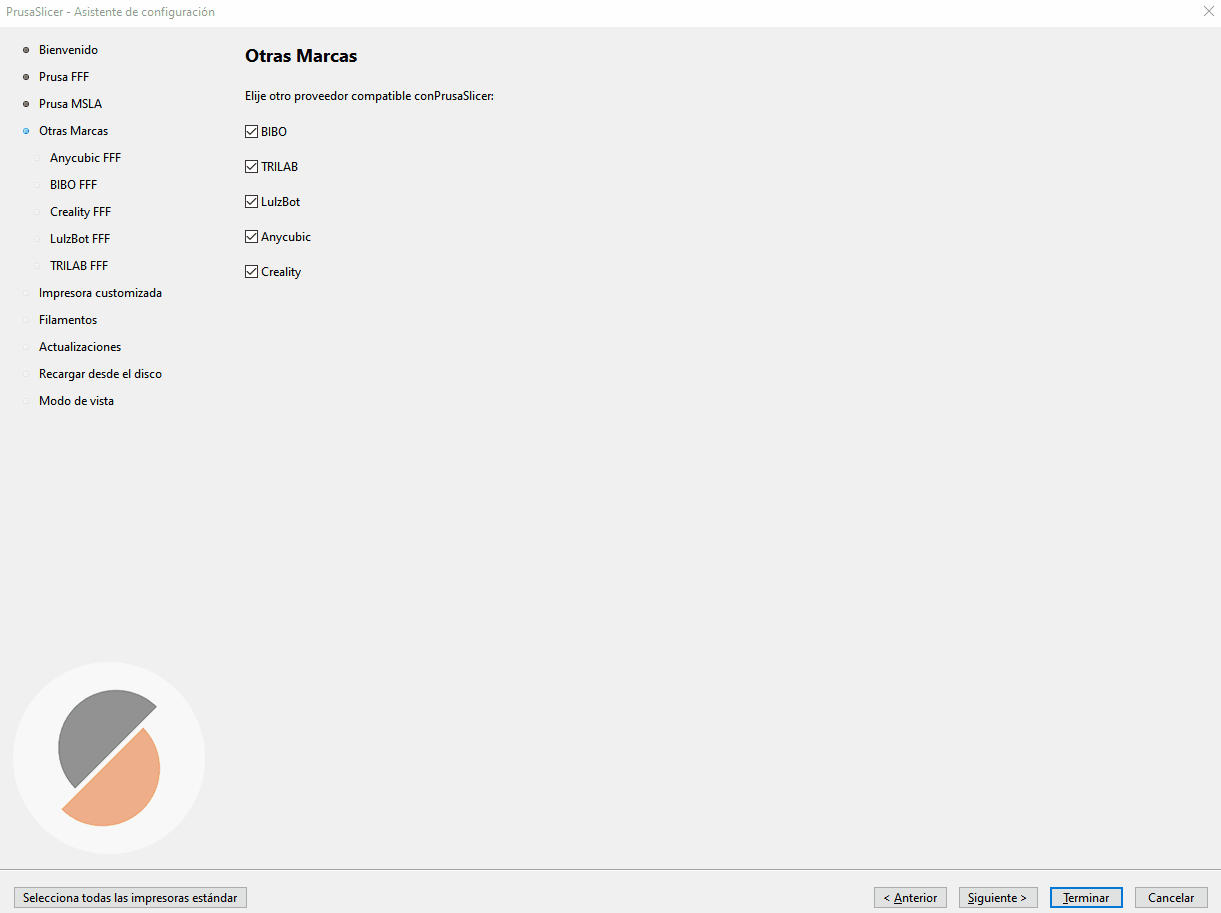
In addition to pre-configured profiles for very popular printers such as Creality or Anycubic, there are also profiles for many of the most popular filaments on the market.
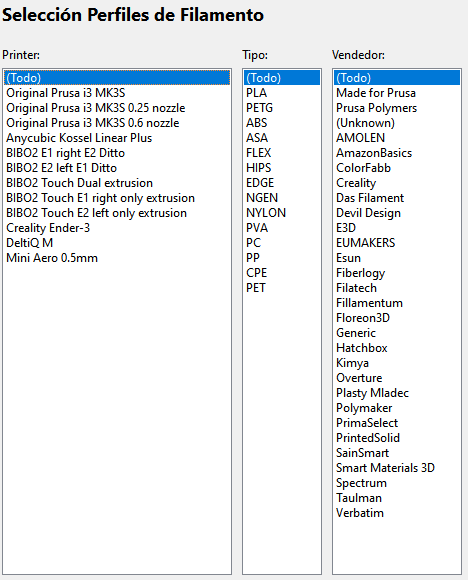
All these profiles that we can take for granted represent a lot of work, since each printer and filament has had to be tested and tweaked to obtain parameters that give optimum printing quality. For us, as users, it offers a lot of value, since it allows us to focus our time on designing and printing our parts, without having to spend time designing from scratch a personalized profile for our printer.
On a personal level, in Bitfab we have thousands and thousands of hours printed on our MK3S using only the pre-configured profiles available. In short, this is the closest thing to plug and play there is.
Other features
In addition to these more general features of Prusa Slicer, we wanted to tell you about some of the features it includes to make our lives easier and to fully customize our prints.
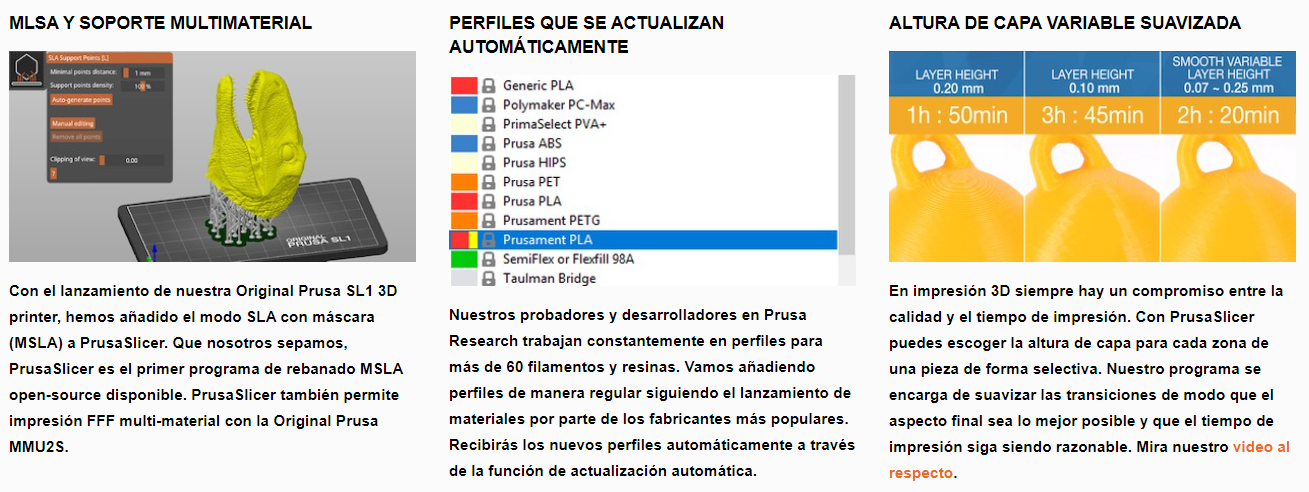
Variable layer height
We can change the layer height manually or automatically to minimize printing time while maintaining an outstanding finish.
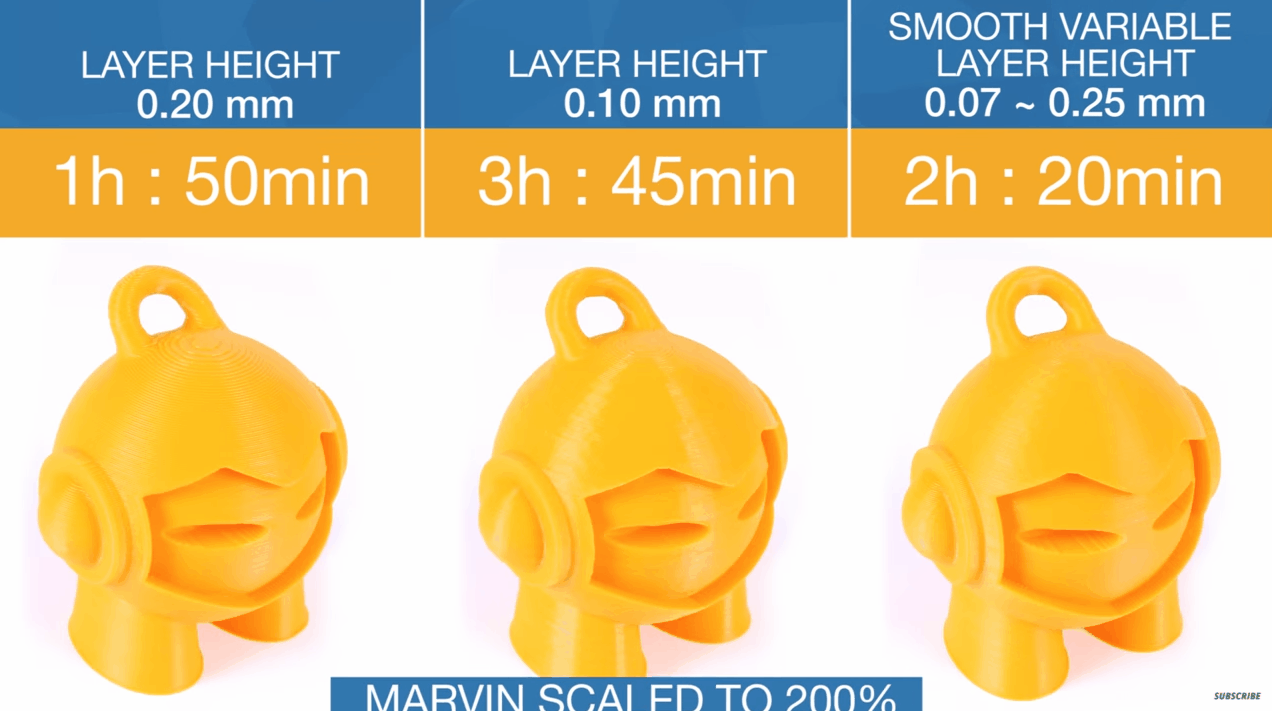
As you can see, using variable layer height we have the best of both worlds: it takes almost as little as printing with large layer height and it looks almost as good as printing with small layer height.
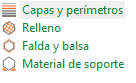
Color switchimg
You do not need a special printer to print multi-colored models. If we design our pieces in the right way we can make, through skillfully planned filament changes, a multi-color piece, easily and quickly. Prusa slicer allows us to create these g-codes with pauses to change the filament at the height we want very easily.
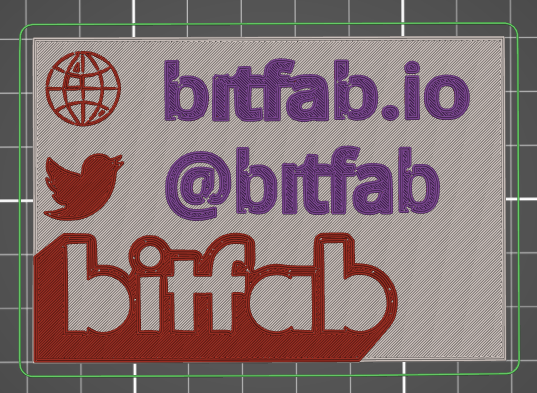
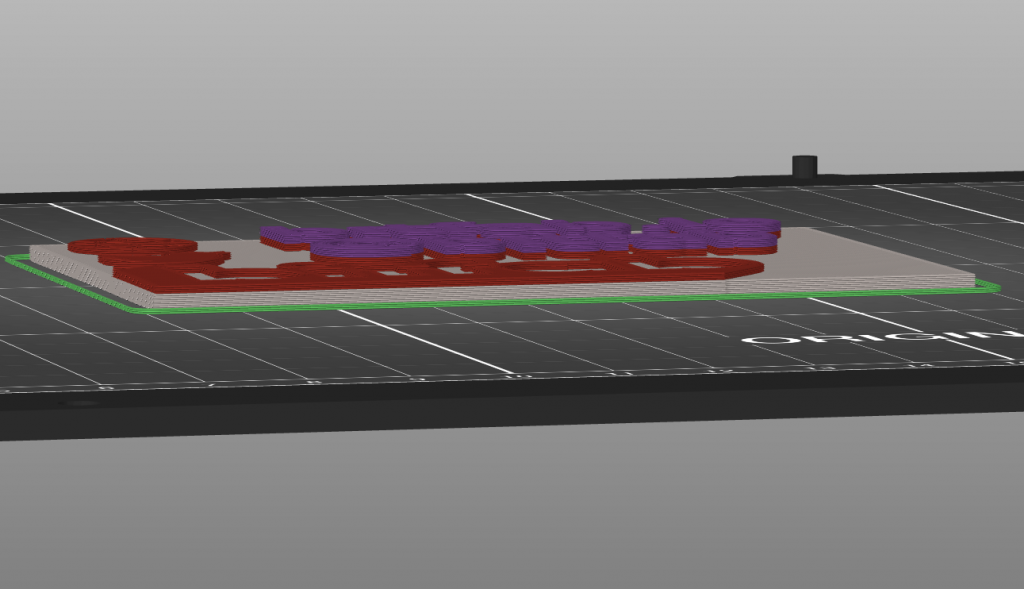
Being a little careful when designing our parts, we can achieve results like these with a normal single extruder/fuser printer.
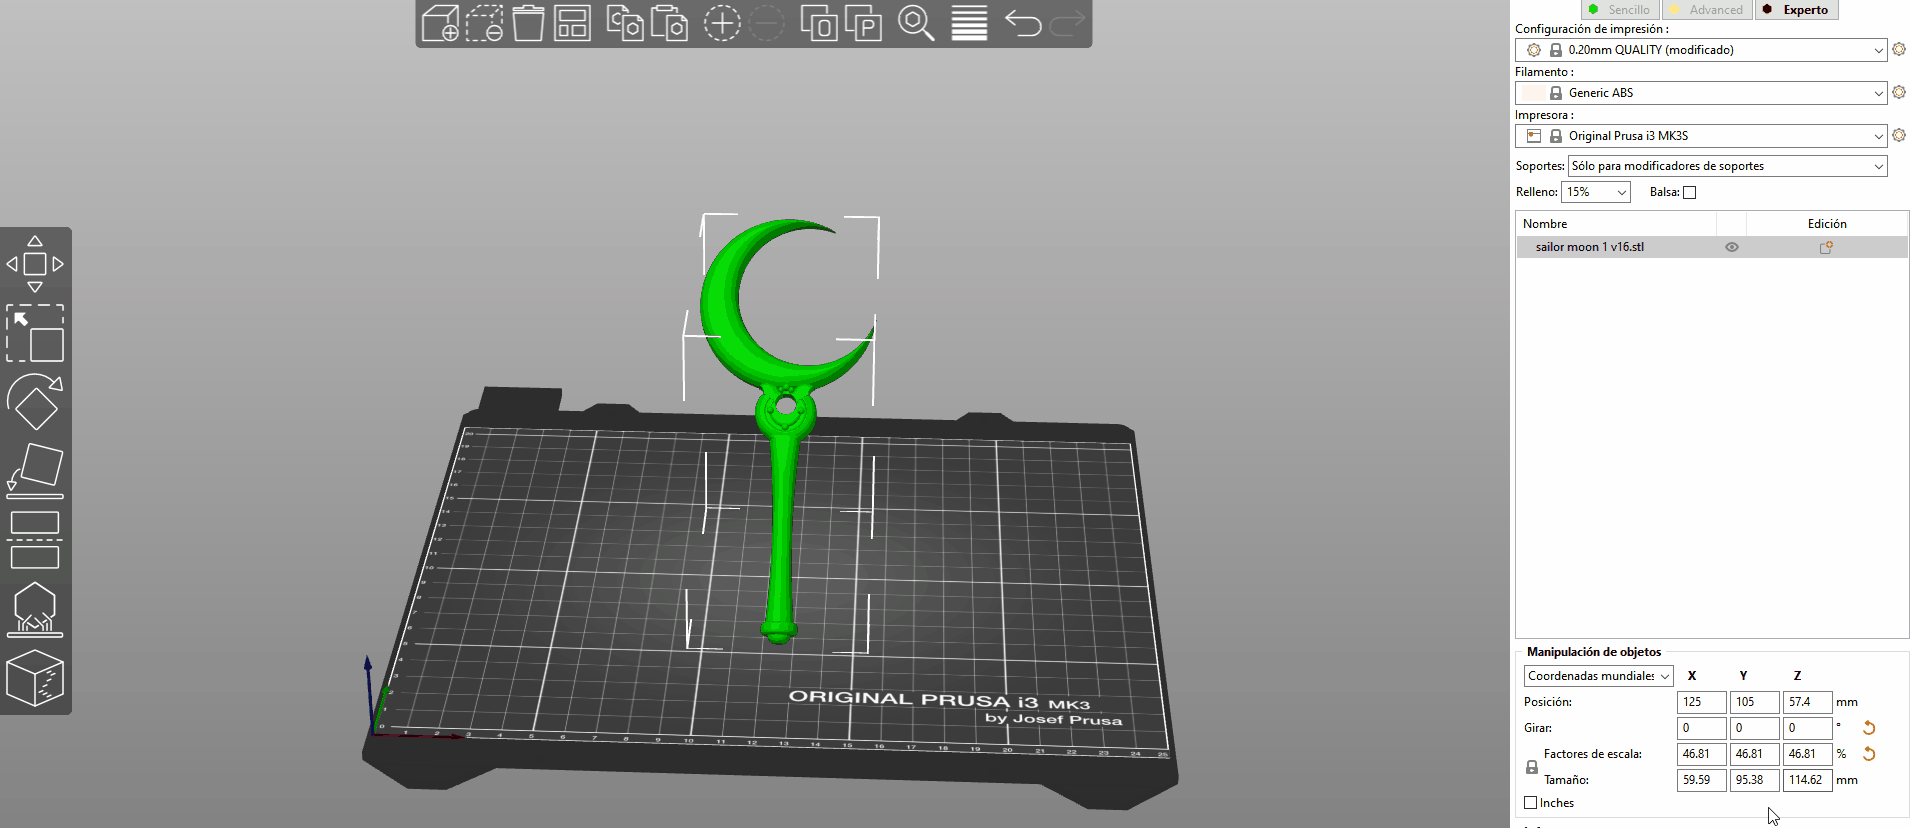
Customizable supports
This feature, which was exclusive to Simplify3D years ago, has been incorporated into the latest version of Prusa slicer. By means of a simple menu we can add supports by “drawing” on the zones that we want of our part. This is especially useful in models with a particularly complex geometry where the automatic supports are not precise enough.
Add modifiers
We can customize how certain parts of our models are printed by using modifiers, which can easily be added and then used to modify the printing parameters of that area of the model. Here is a very interesting video where the guys from Prusa explain how powerful this feature can be.
Think of all the things you can do. We, as professionals, love it, because it allows us to “fix” certain aspects of 3D models, such as: adding horizontal expansion in just one area of the model, increasing the number of perimeters in a particularly thin region, increasing the filling of areas that will have to bear more load…
Prusa Slicer at Bitfab
In Bitfab we use Prusa Slicer for many reasons. The ease of use, the ability to use modifiers, the possibility of using it through the command console… You could say that we are real experts using the software by the Prusa fellows. That is why, if you have any doubt or you want to learn more about this or any other slicer, do not hesitate to contact us. We are experts in digital manufacturing and 3D printing so we can certainly help you.